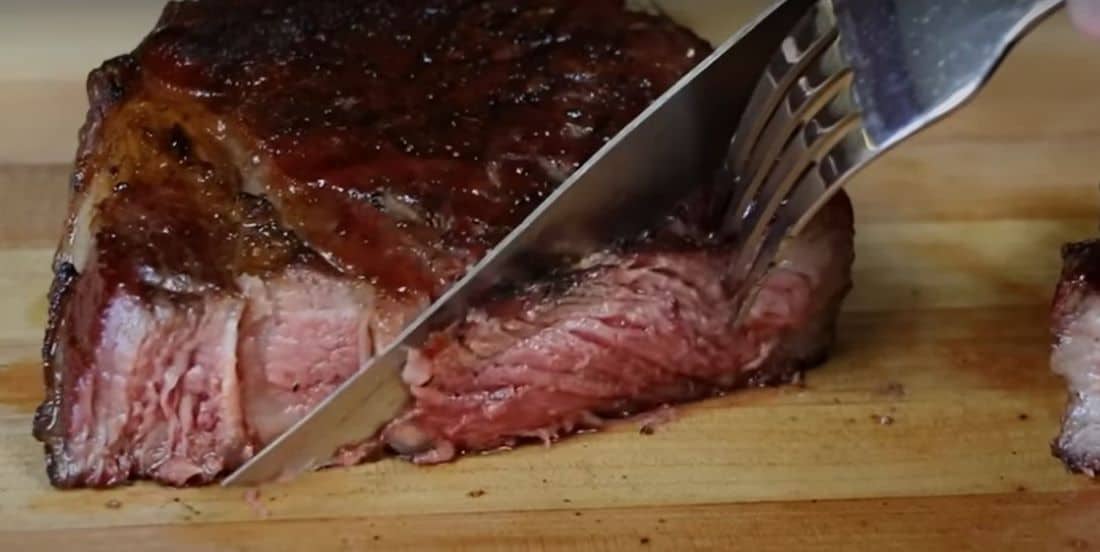
Do you want a soft and juicy cut of steak? Nothing is more frustrating or annoying than cutting into the steak only to discover dry, dry cut of meat. This is particularly frustrating if you’ve paid a significant amount of money to purchase a top cut. However, even if you’ve adhered to the recipes for making the best steak, it could be an opportunity to reconsider the conventional techniques of cooking the meat. A traditional method of cooking steak is suitable for more minor cuts of meat, so cooking larger cuts, like a ribeye, can be challenging. Use the reverse-sear method to preserve moisture and keep the steak tender and juicy with this reverse-seared ribeye recipe with rosemary garlic butter.
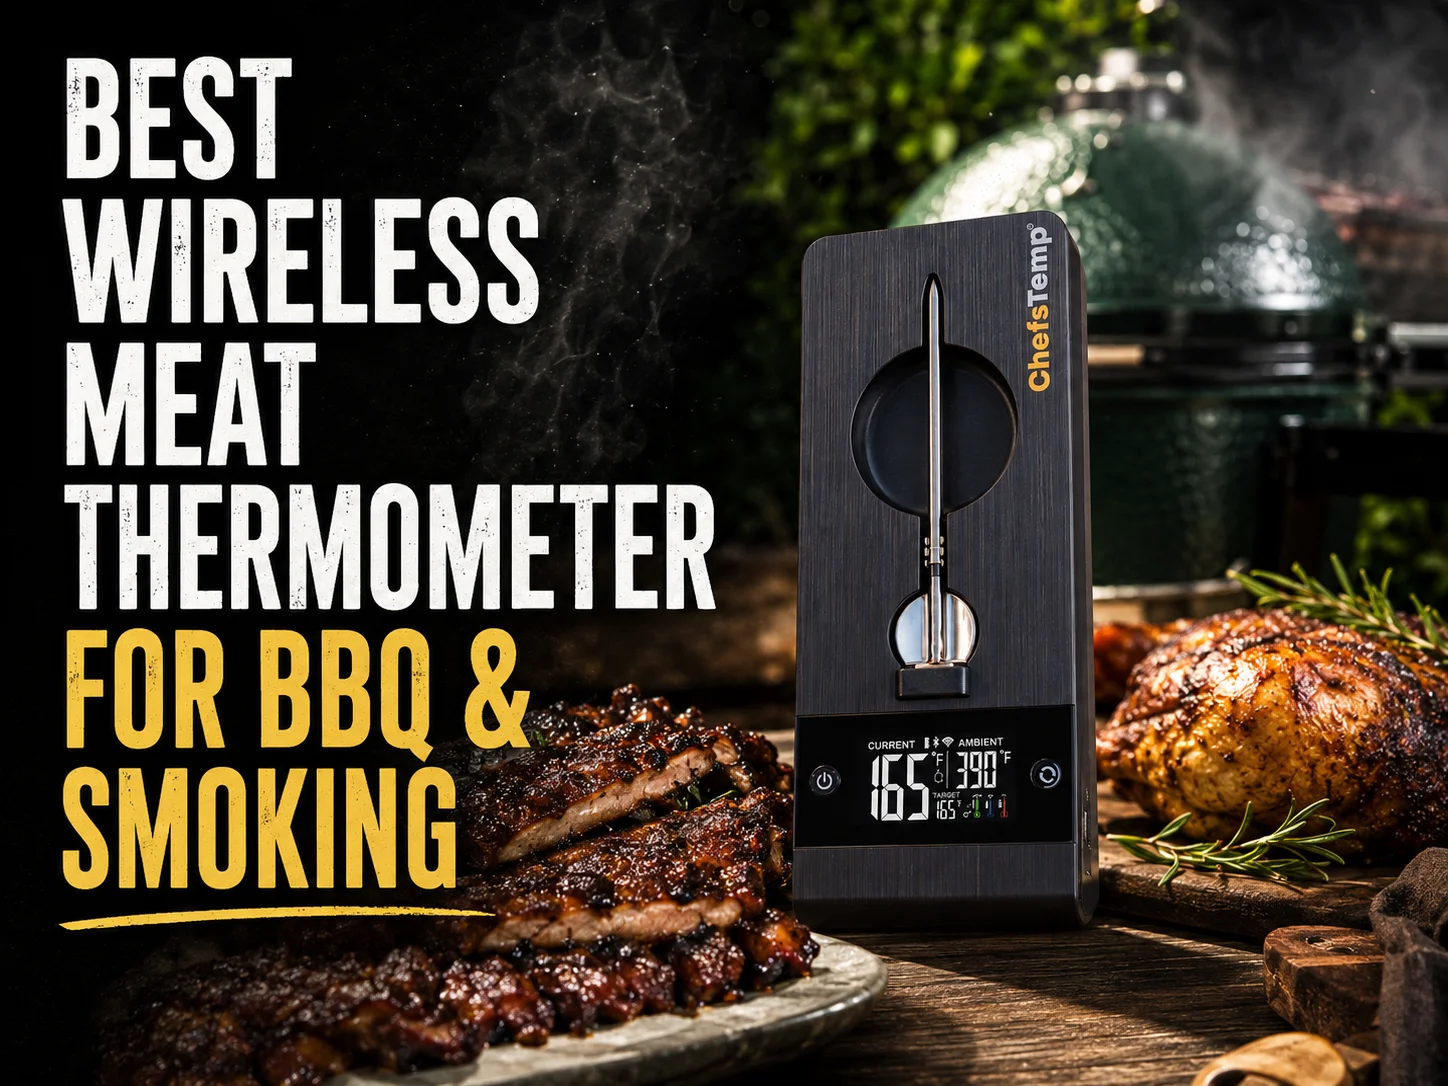
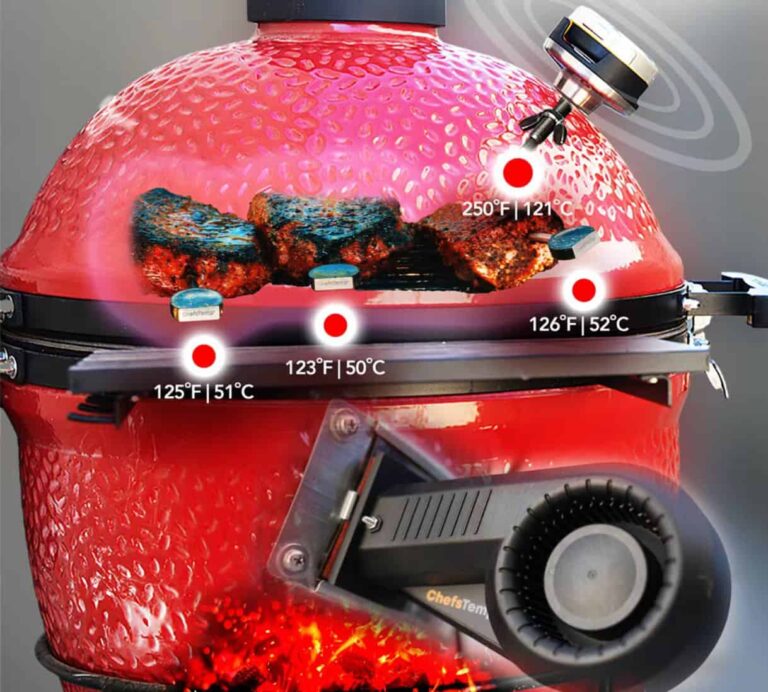
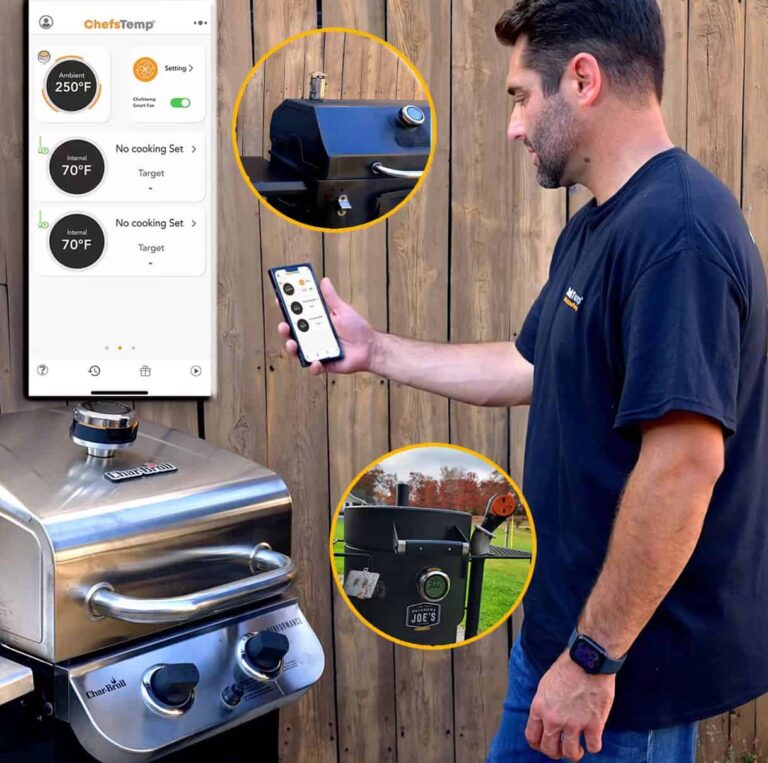
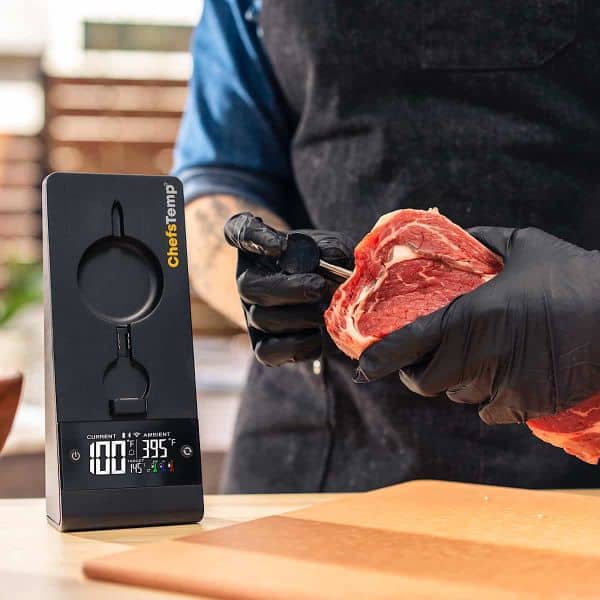 Tip: click here to learn more about proper steak temperature.
What is Reverse Searing?
Would you like to master the art of reverse searing steaks? Once you master this cooking method, you’ll never have overcooked steak again. Reverse searing is baking the meat before finishing it on the stovetop, such as in a pan or skillet. It is essential to start cooking at a low temperature first. The low-and-slow cooking process ensures the meat is cooked thoroughly and evenly, rather than shocking it with heat. After that, the meat is seared to create a flavorful crust. The searing process gives the steak a beautiful color that makes it look more appetizing.Why Reverse Searing Steak Works?
There are several benefits to cooking steak using the reverse searing method. You’ll never want to cook steak any other way again.1. Evenly Cooked Interior
The reverse-searing method starts by cooking the meat over indirect heat. The first step ensures the meat is not only thoroughly cooked but also cooked evenly on the inside. The final step, the searing process, ensures you won’t have to worry about the exterior of the meat being done while the inside is still raw.2. Beautiful Exterior Crust
The perfect steak is not only juicy and tender on the inside. It must have a beautiful, caramelized exterior as its crust. Unfortunately, the traditional method of cooking steak sacrifices some of its tenderness and juiciness in pursuit of a perfect, golden-brown crust. Cooking the steak in the oven first dries out the steak’s surface as it cooks. It results in a thin coating that provides the perfect base for a beautiful sear. That’s why it is crucial to sear steak for only 1 minute on each side to avoid overcooking.3. More Flavorful Steak
While the steak cooks in the oven, it releases wonderful, flavorful juices. You can use those drippings to drizzle over the meat as it cooks, along with the garlic herb butter, creating a flavor explosion instead of a dry, tasteless steak.Other Steak Cuts for Reverse Searing
The recipe included here for reverse searing uses ribeye steak, which is a type of thick-cut steak. It is one of the ideal cuts of steak for this cooking method, but any steak at least 1.5 inches thick would work best. But it also works best for two-inch steaks.- T-Bone
- New York strip
- Filet Mignon
- Tomahawk
- Porterhouse
- Picanha
Reverse-Seared Ribeye with Garlic Herb Butter Ingredients
To make the Reverse-Seared Ribeye with Garlic Herb Butter, you will need the following ingredients:- 2 thick cuts of ribeye steak
- 3 tbsp butter
- 3 cloves garlic, crushed
- Rosemary sprigs
- Fresh thyme
- Salt and pepper to taste
Instructions
Step 1. Warm your oven to 200 degrees as you cook the steak. Step 2. Prepare a baking sheet with parchment paper. Then, lay the cooked steaks on it. It is essential to sprinkle each side with salt and freshly ground pepper.Step 3. Place your steak into the oven, and cook it for about 40 minutes. To check the steak’s internal temperature, use a meat thermometer to ensure it’s cooked to the desired temperature. Once your steak reaches your desired temperature, please remove it from the oven and place it in a bowl to cool.
Step 4. In a large skillet, cook your steak with the garlic, butter, rosemary, and thyme over medium heat. It should be seared for 1 minute on one side, then flipped and seared for 1 minute on the other side.
When the butter has melted, it is time to tip the pan gently. Utilize a spoon to brush the steak with the melted butter. Also, it’s good to add the herbs and garlic.
Step 5. Remove the meat from the pan, then serve the garlic-herb butter, melted with the steak.
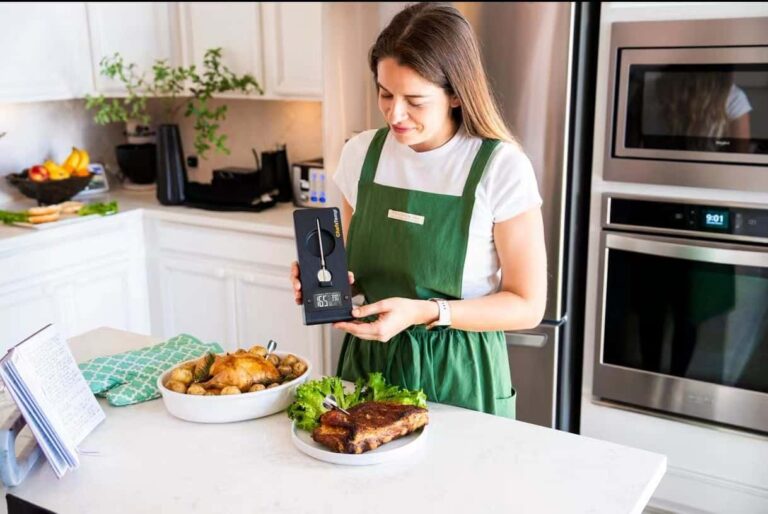
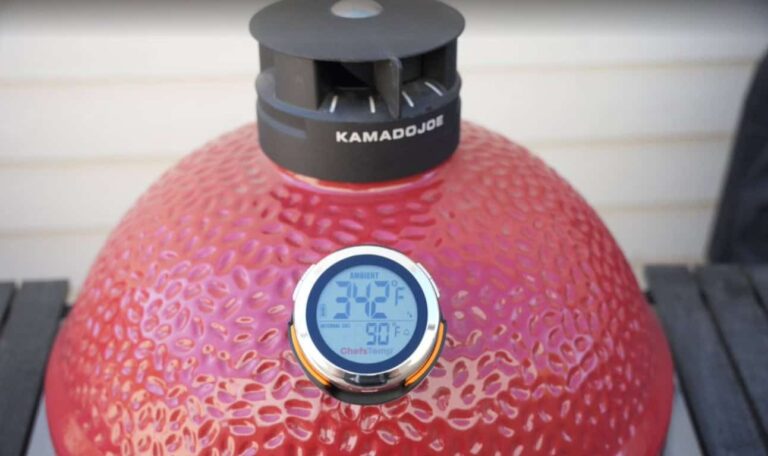
Tip: click here to learn more about proper steak temperature.
Reverse Searing FAQs
Which is the most delicious meat to use for the reverse-sear technique?
A steak with an average thickness of 1 1/2 inches is ideal for using this method. Thin filet mignon, New York strip steak, ribeye, Tomahawk, or T-bone cuts are great for using it. Also, tri-tip is excellent to grill. Thin filet mignon, New York strip steak, porterhouse, ribeye, and big tomahawk steaks all work well with it. This is also an excellent method to prepare tri-tip.What is the best time to reverse the cooking process to sear a cut of meat?
Reverse-searing steaks like ribeyes may take 30-60 minutes, depending on the steak’s size and thickness and the oven temperature. To get the most out of it, heat the oven to 275 ° and cook the ribeye until its internal temperature reaches up to 110 °. After that, you can sear it for 1 to 2 minutes per side.At what temperature do you reverse-sear a ribeye?
When learning to reverse-sear steaks, we recommend starting at 275 degrees. Sear for 1 to 2 minutes on each side over a hot skillet once the internal temperature reaches 110 degrees. If you’re using a grill, start the steak on a low heat setting, then move it to a high heat setting for searing.Do you flip a steak when using the reverse searing method?
Yes, just like with traditional pan-searing, flip a reverse-sear steak once. This step enables the searing process to crisp up both sides.Which results in better steak, searing or reverse searing?
Pan-searing and reverse-searing steak are both excellent cooking techniques. Some like to sear thick steaks in reverse, since they take longer to cook through the inside after searing. While the searing process locks in juices, reverse searing allows the temperature to rise gradually inside, preventing drying or overcooking.RELATED POSTS
CHEF IQ Alternative: Is ChefsTemp the Best Thermometer for Smoker Cooking?
The chef iq thermometer has earned a solid reputation in modern kitchens. For indoor roasting, air frying, or ...
Best Meater Pro Alternatives in 2026: Finding the Best Wireless Meat Thermometer for Smoker
Meater Pro revolutionized wire-free cooking, but heavy-duty steel offsets and thick ceramic kamados create phy...

Finding the Best Smart Wireless Meat Thermometer: The Ultimate ThermoWorks RFX Alternative
It takes time, money and accuracy to prepare a top-notch brisket for a weekend BBQ party. However, that enthus...

Beyond PitmasterIQ: Transforming Weber Grill Temperature Control with an All-in-One Monitoring Hub
Brisket purveyors have a reputation for waking up in the middle of the night to check the temperature of smoki...

The Ultimate Smart Grilling Hub: A Modern Alternative to BBQ Guru for 2026
I still recall the stress from my first overnight brisket. It wasn't the charcoal that kept me up. It was the ...
Master Your Kamado Joe Temperature Control: The Ultimate SMOBOT Alternative
A well-insulated grill with high-end ceramic insulation is great. But let's face it: monitoring grill vents fo...

The Rest Is Part of the Cook
"Using time, temperature, and even your grill to protect the final result."
Most of us spend a lot of time th...
Pitmaster IQ Alternatives: Best Smart Wireless BBQ Controls Guide
Compare the top Pitmaster IQ alternatives. Learn about smart wireless smoker controllers that control airflow and heat for perfect meals year-round.
Kamado Grill Accessories: The Ultimate Guide to Building a Smart Ecosystem
Heavy-duty ceramic grills deliver amazing flavor, but that thick-walled grill is a challenge to master. If you...
SMOBOT Review: Is It Still The Best Kamado WiFi Grill Controller?
SMOBOT automatically controls your Kamado vent, but jammed gears and weak WiFi can cost entire cooks. Here is what to know before you buy.
Accessories for BBQ Grill: Brand-Agnostic Compatibility & Tech Integration
Let’s be honest: when you look for accessories for bbq grill, another silicone brush won’t fix a ruined briske...
The Best WiFi Meat Thermometer for Smoker: ProTemp Plus (True Wireless) vs. Signals (Wired)
Smoking a brisket requires a full day of commitment. It's not just a “set it and forget it” kind of deal. We'v...