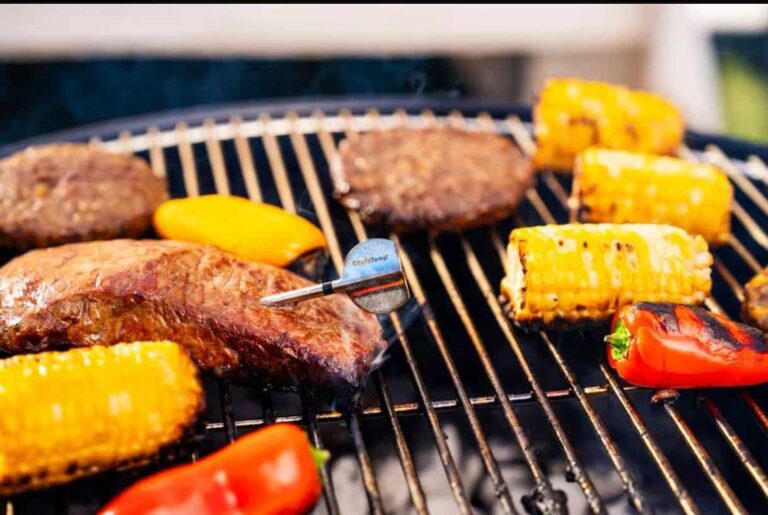
If you have a multi-purpose meat thermometer, you know how precious it is to you. Every time you need to check the food temperature, you use your thermometer. It ensures that you cook safe and yummy food every time. Although your thermometer is such an indispensable gadget, it can become inaccurate.
An inaccurate device will give false temperature readings and ruin your cooking. By relying on false temperature alerts, you can undercook or overcook food. No one wants to serve raw or burned food. If you suspect that your kitchen thermometer is inaccurate, test it to be sure.
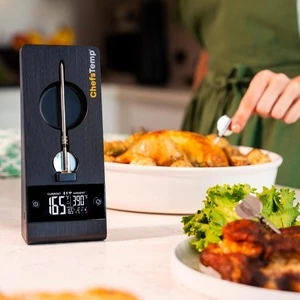
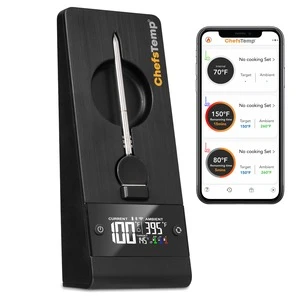
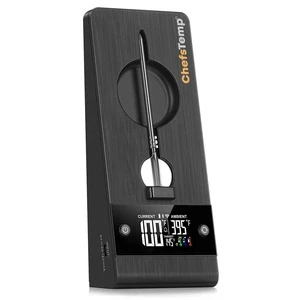
https://www.chefstemp.com/wp-content/uploads/2022/02/chefstemp-13-300×297.png
How can you test a meat thermometer for accuracy?
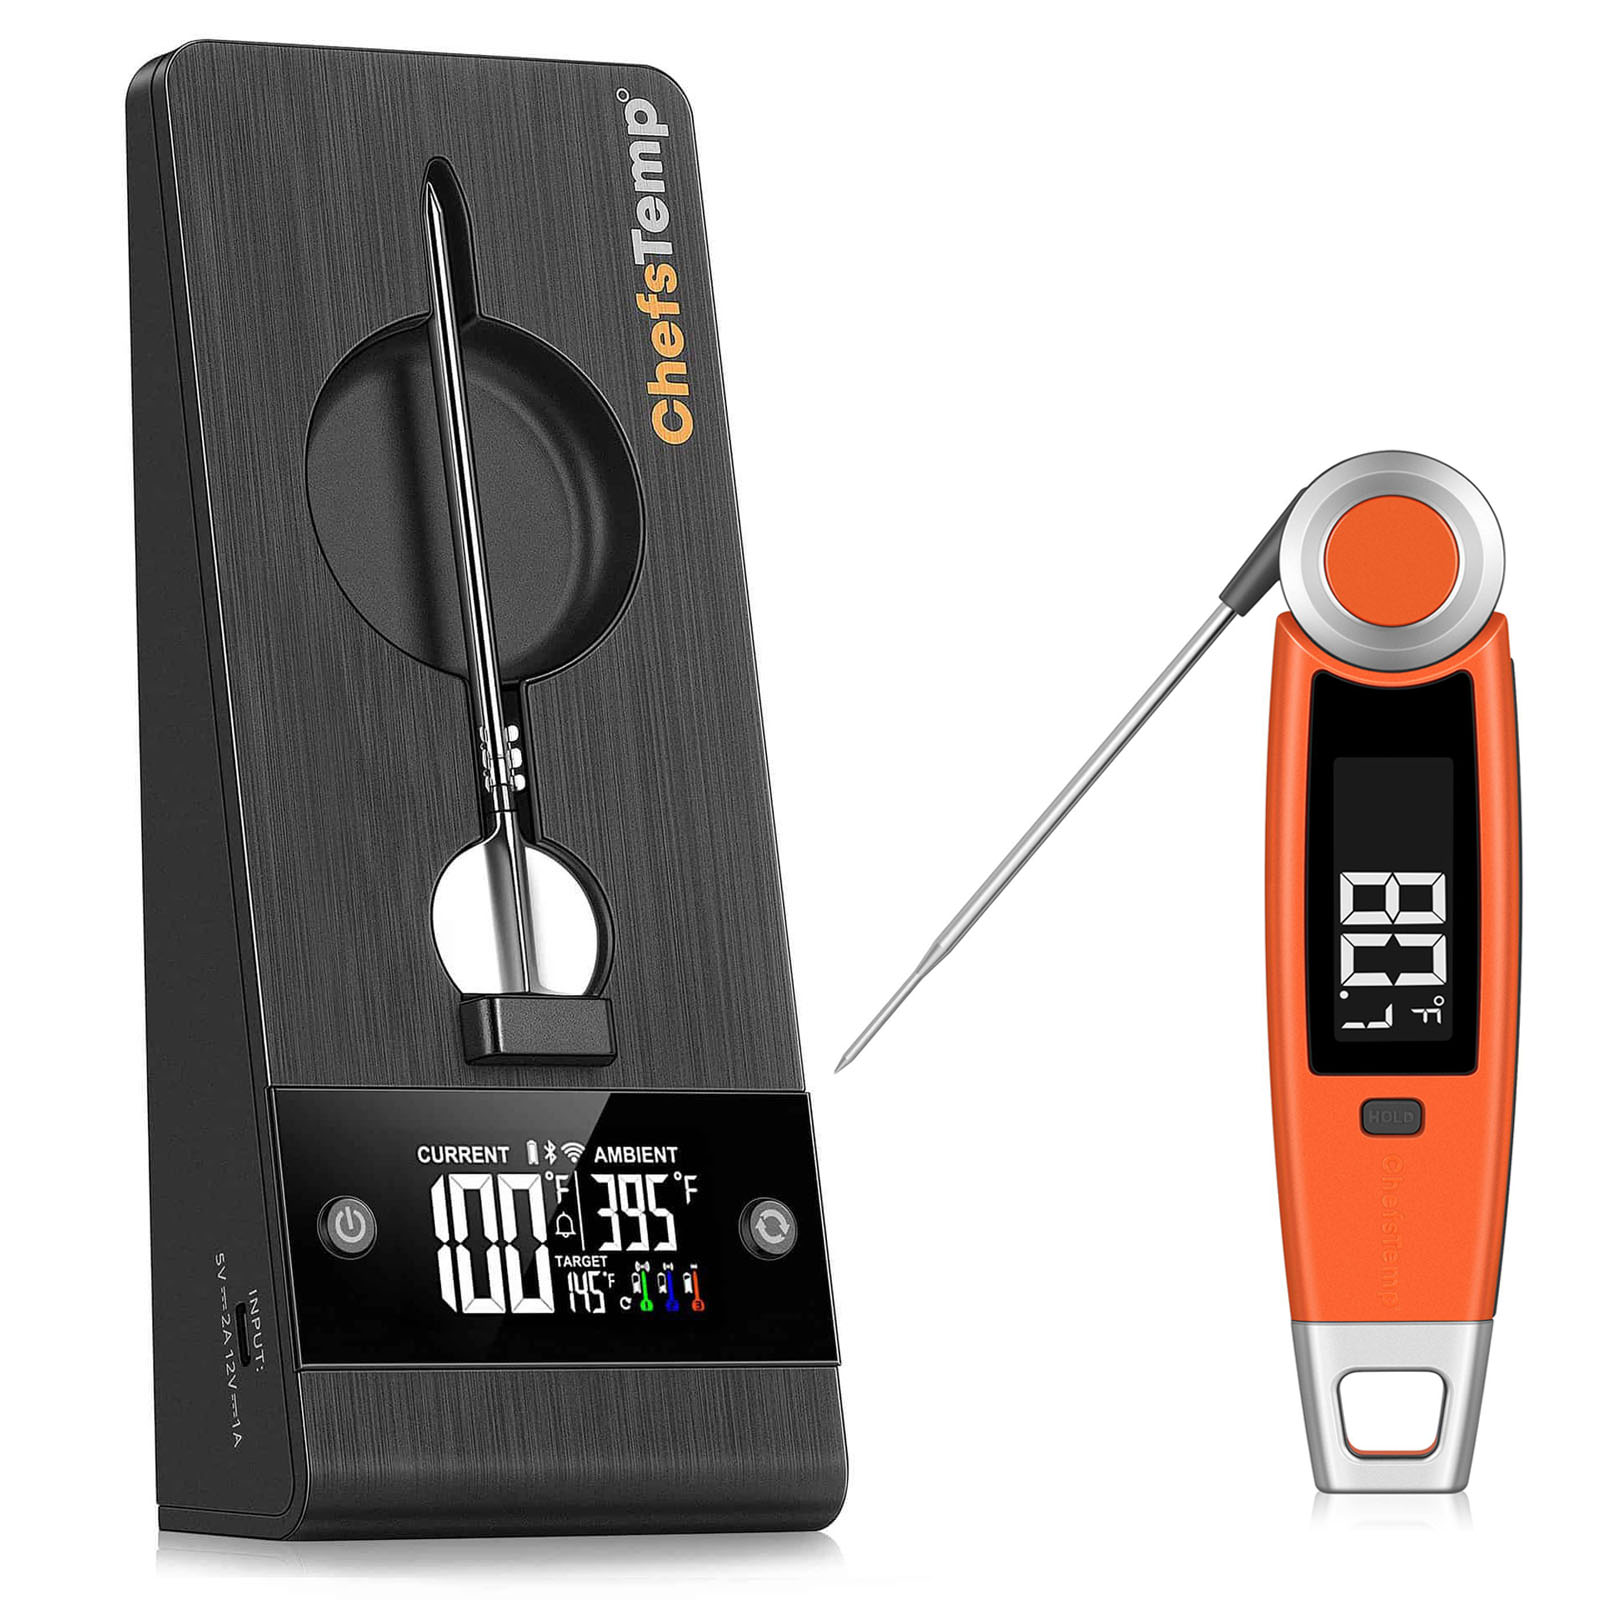
The process of testing the
best meat thermometer for accuracy is easy. You can do it at home by following simple instructions. Before we show you how to do this, we want you to note these points:
- You should test and recalibrate your thermometer at least once every six months to one year.
- Each time you accidentally drop your grill thermometer, test it for accuracy.
- Test your device if you suspect that it might have lost its accuracy due to exposure to elements.
- Check your thermometers for accuracy if you have not used them for a while.
- If you use your gadget daily, make sure you test it for precision every week or as often as possible.
- If your residence is not at sea level or close to it, do not assume that the boiling point of water at your place is 212°F or 100°C. Instead, use an online boiling point calculator to compute the temperature that can bring water to its boiling point at your altitude. Then boil water up at that temperature level when testing your thermometer.
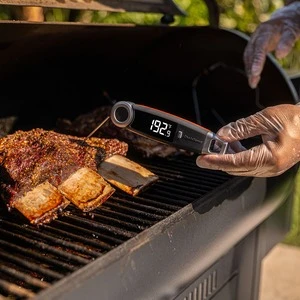
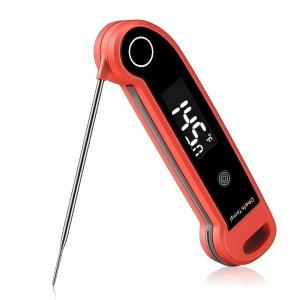
https://www.chefstemp.com/wp-content/uploads/2022/02/C7@ZXX77FG3CULZ_VT-e1644904960692-300×222.png
1. Use the ice method
The ice method is one way to check if your best cooking thermometer is fine or it requires recalibration. The steps to follow when carrying out the ice technique includes:
Step 1: Pour ice cubes into a tall glass
- It is necessary to follow instructions well. Fill a tall glass with ice cubes. Make sure the ice reaches the brim of the glass.
- You may use crushed ice to reduce the spaces in the glass.
- Whether you decide to use whole ice cubes or crushed ice, make sure it fills the jar.
Step 2: Pour cold water into the glass jar
- To ensure you accurately test your bbq thermometer, use cold water only. It should not melt your ice cubes.
- Let the water touch the brim of the tall glass. If it is not chilly enough, store it in the refrigerator first.
Step 3: Use a spatula or spoon to stir the water
- It is necessary to ensure that the cold water and ice mix well. So use a spoon, spatula, or stick to stir the mixture for fifteen seconds.
- Stirring will accelerate the cooling process to ensure an accurate reading.
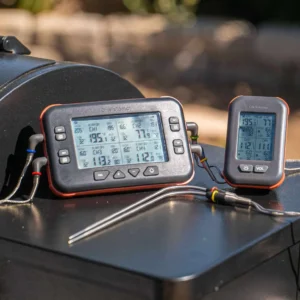
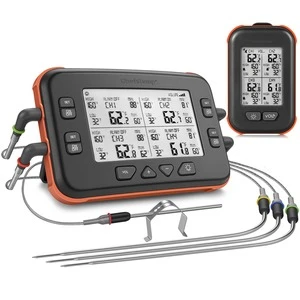
https://www.chefstemp.com/wp-content/uploads/2022/02/ChefsTemp-How-to-check-if-your-Meat-Thermometer-is-Making-Accurate-Readings-2-300×108.jpg
Step 4: Insert your electronic meat thermometer into the tall glass jar
- You need to insert your gadget from the top. Submerge it about two inches into the water and ice mixture. Avoid touching the bottom or the side of the jar to keep the measurement accurate.
- If you accidentally touch the sides or the bottom of the glass jar, start the process again.
- If you are using a remote thermometer, lift it from the water, reset it, and submerge it again.
- In the case of a manual thermometer, do not remove it at all. Move it to the middle of the glass jar and let it adjust itself.
Step 5: Hold your gadget in the glass for about thirty seconds
- Hold the thermometer still inside the glass jar. The stability will ensure a precise test result.
- If using an instantread meat thermometer, it will beep automatically. There is no need to count 30 seconds to remove it.
- As for a dial thermometer, hold it still for one to two minutes. Only then can it generate an accurate reading.
Step 6: Verify that the thermometer reading is 32 degrees F or 0 degrees C
- A properly working meat thermometer will read 32°F or 0°C. If it does not, recalibrate it.
- Before you do so, repeat the exercise. Ensure that the water is cold. You may wait about three minutes to allow the ice to cool down the water.
- If you still do not get 32°F or 0°C, you should recalibrate it.
2. The boiling water method
Here you want to check the boiling point of your smoker thermometer. You can follow these steps:
Step 1: Boil water in a wide-brimmed pot
- Pour water in a wide-brimmed pot and place the pot on top of the stove to boil.
https://www.chefstemp.com/wp-content/uploads/2022/02/ChefsTemp-How-to-check-if-your-Meat-Thermometer-is-Making-Accurate-Readings-3-300×162.jpg
Step 2: Insert your meat thermometer
- After the water boils, place your thermometer about an inch deep inside the hot water.
- Do not allow the gadget to touch either the bottom or the side of the pot.
- Hold still for about a minute or less to let the thermometer generate a reading.
Step 3: Read the result to ensure it is 212°F or 100°C
- While holding your thermometer with tongs, read the resulting temperature recording. If it is 212°F or 100°C, your instant read thermometer is fine.
- If it does not, check if the error factor is more than two degrees. In case it is more than two degrees, you can repeat the procedure just to be sure.
- If you get the same results, recalibrate your gadget.
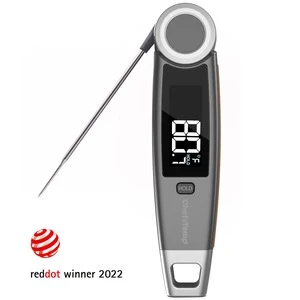
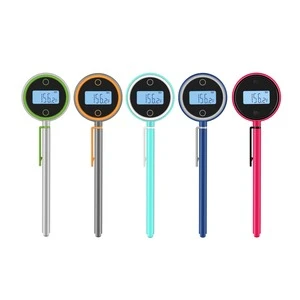
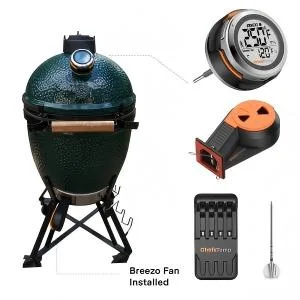
https://www.chefstemp.com/wp-content/uploads/2022/02/CJKPJO15ABZD9KRCAYXNK-300×300.jpg
Conclusion
As you can notice, the process of testing your meat thermometer for accuracy is easy. If it turns out that your thermometer is inaccurate, you can try to recalibrate it. Take the gadget manual and do as it says. If you are unable to restore it, call the manufacturer for a replacement or advice. They can replace it if they cannot repair it. However, you need to ensure that your
best food thermometer has an active receipt or warranty. If the error is below two degrees, live with your food thermometer.