How Long to Smoke a Turkey
The Secret Behind Perfectly Smoked Poultry
To be frank, I may have destroyed a decent number of birds before I realized the real reason the meat was dry was that stupid plastic pop-up thermometer. I discard it the second I take the bird out of the packaging. These thermometers typically don’t pop until the breast has reached a bone-dry 185, long before the meat has lost all of its juices. When it comes to cooking a legendary bird, I have two rules: Master moisture control, and then master temperature. When you decide to stop worrying about how long to smoke a turkey and instead focus on temperature, you can virtually guarantee a successful cook. So, let’s stop the guessing and get the bird prepped.Step-by-Step Guide on How Long to Smoke a Turkey and Prep It
Step 1: The Ultimate Brine Preparation
Let’s begin with the brine. I always use a heavy-duty meat bag and drop it directly into a big bucket. It saves a lot of refrigerator space and prevents a huge mess when something leaks. I add a full bottle of my preferred bird brine, which has coarse salt and whole peppercorns soaking in the brine, along with savory herbs, and then fill it with enough water to fully submerge the bird. Squeeze out all the air, zip it, then leave it in the fridge for a day or two. Trust me. How you prepare and hydrate the meat fibers right now will affect the final cook times for smoked turkey. The prep will ensure the breast meat has enough moisture to survive hours on the smoker without drying out.
The Ultimate Brine Preparation
Step 2: Drying and Prepping the Bird
After some time, I take the soaked turkey out, hold it over the sink by the legs, and let it drain. I learned this the hard way when I served too many rubbery birds to my family. The skin has to be completely dry. Moisture creates an impenetrable barrier. I take a whole roll of paper towels and blot the turkey until it is completely dry. That dry surface traps heat beneath it and creates the wonderful crisp layer we desire.Step 3: Trussing, Seasoning, and Thermometer Setup
The next thing I do is stuff the cavity with celery, quartered sweet onion, and sliced apple. This is a technique I use to create a gentle internal steam and aromatic flavor for the turkey. I fold the wings back and tie the legs with butcher’s twine so they cook evenly. Now with the binder, I know a lot of people use melted butter, but I highly recommend against it because the water and milk solids burn unpredictably. I stick to plain old cooking spray. I coat the whole turkey, then add an all-purpose rub (salt, pepper, garlic), and then a layer of Cajun, so we get that nice deep color on the skin. We also need to cover the prep for this bird before it goes on the smoker. People always ask me what temp to smoke a turkey for it to come out perfect, but the problem is, it isn’t the relevant question. It’s not a relevant question if you don’t know what you are doing in terms of internal doneness. You need a professional data feed right from the start.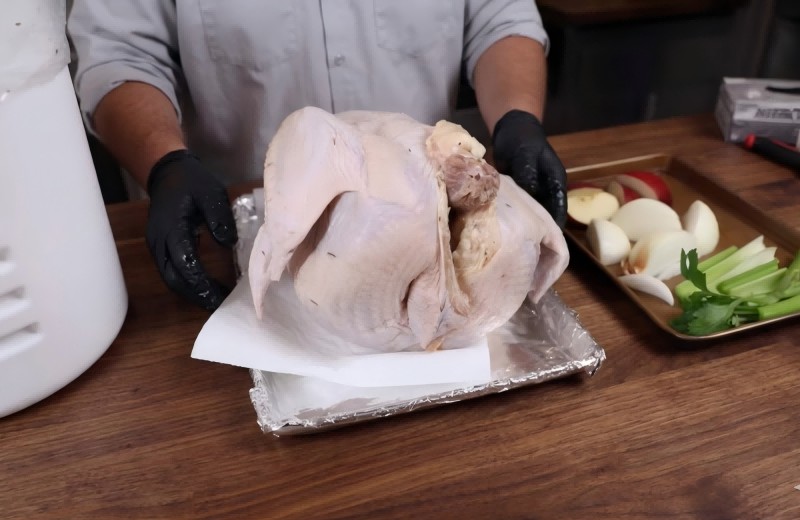
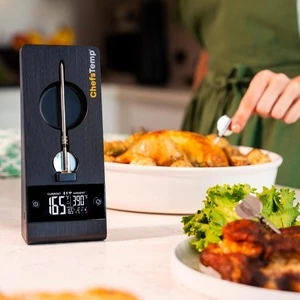
Trussing, Seasoning, and Thermometer Setup
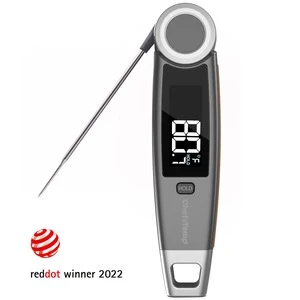
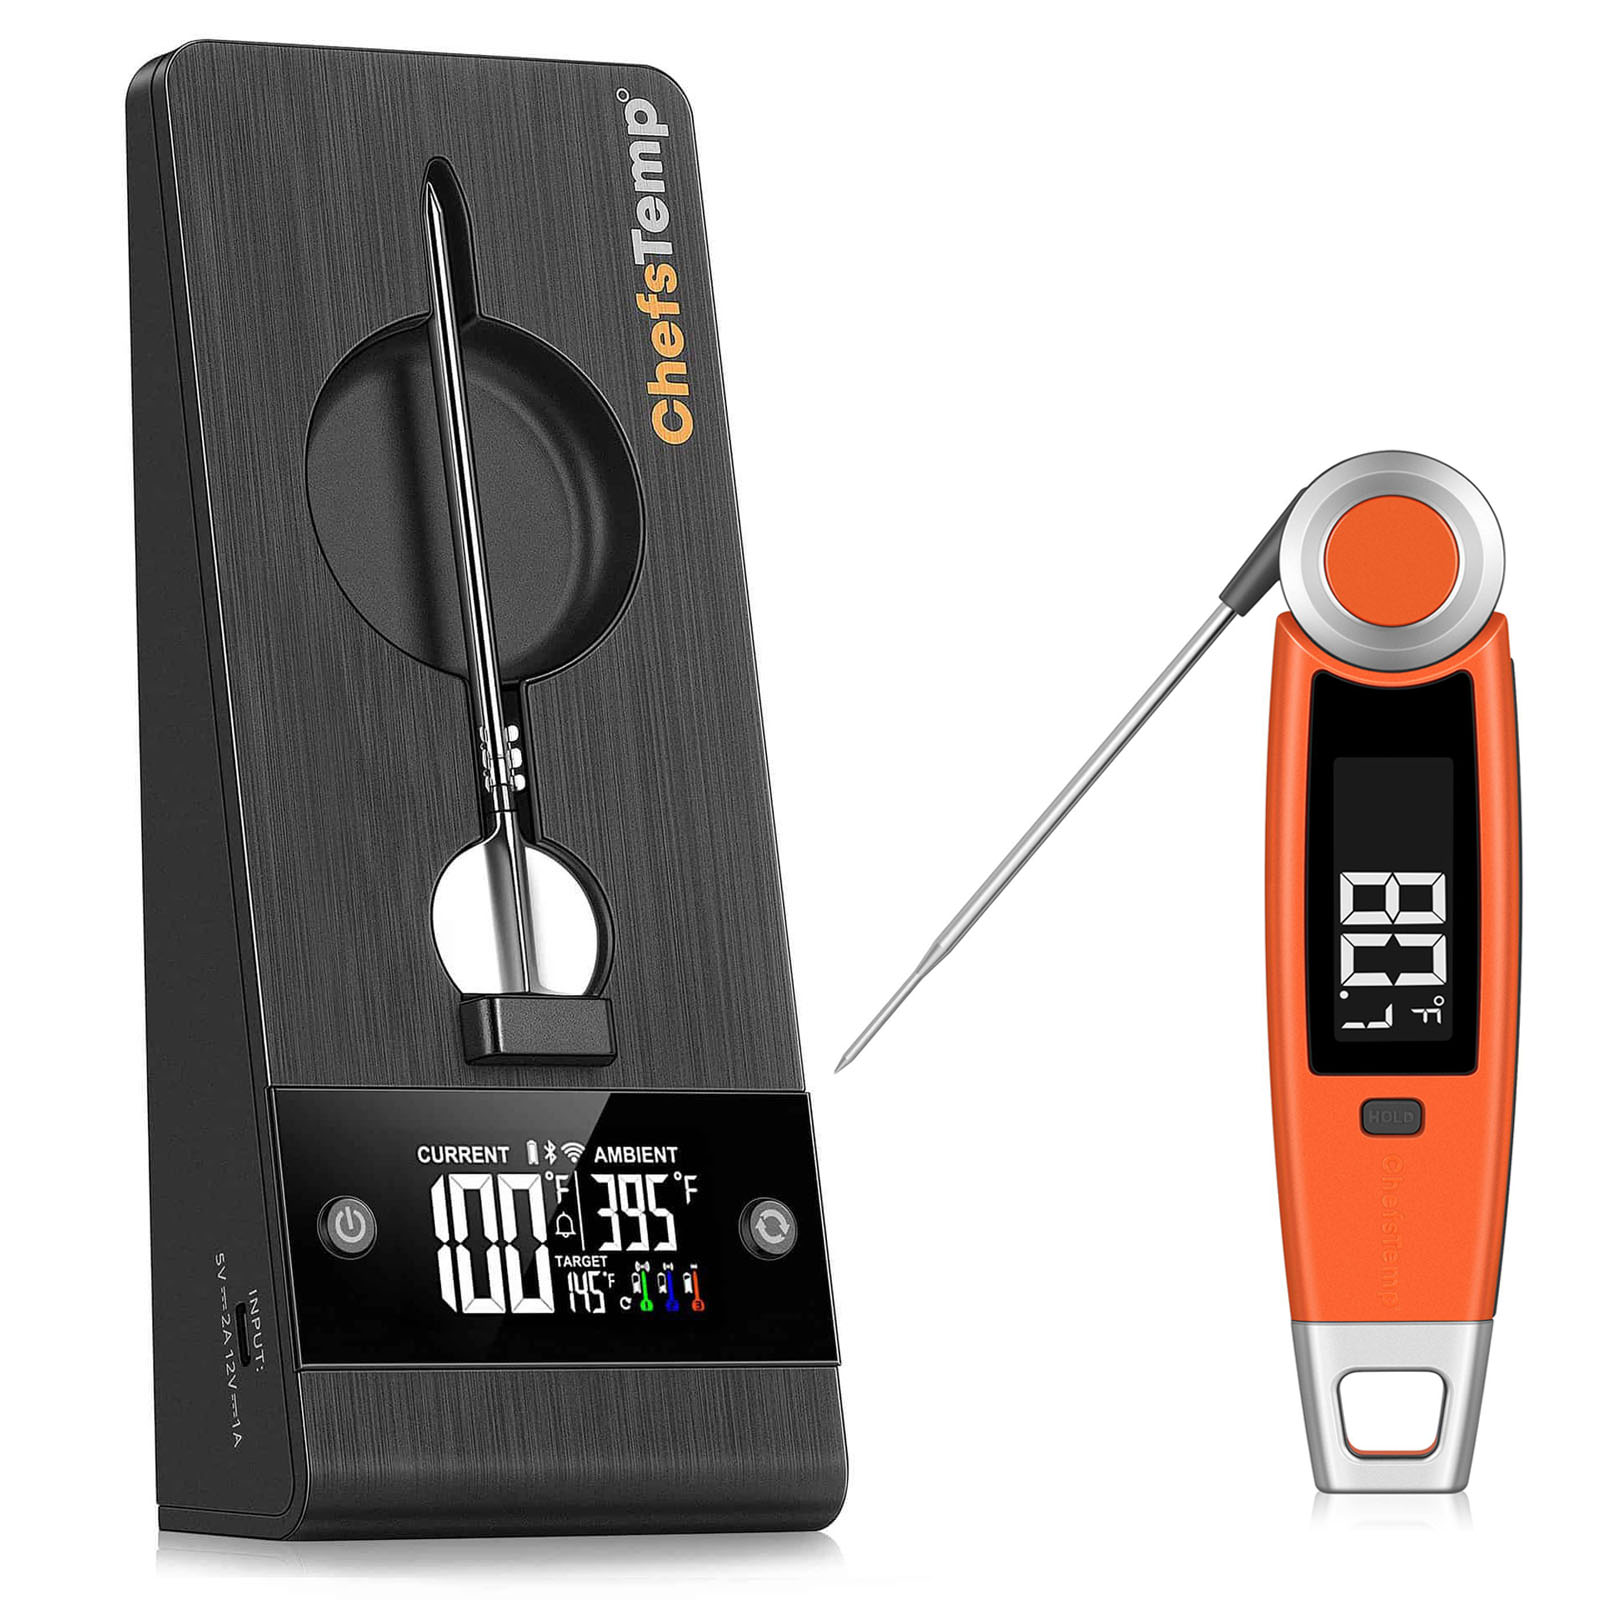
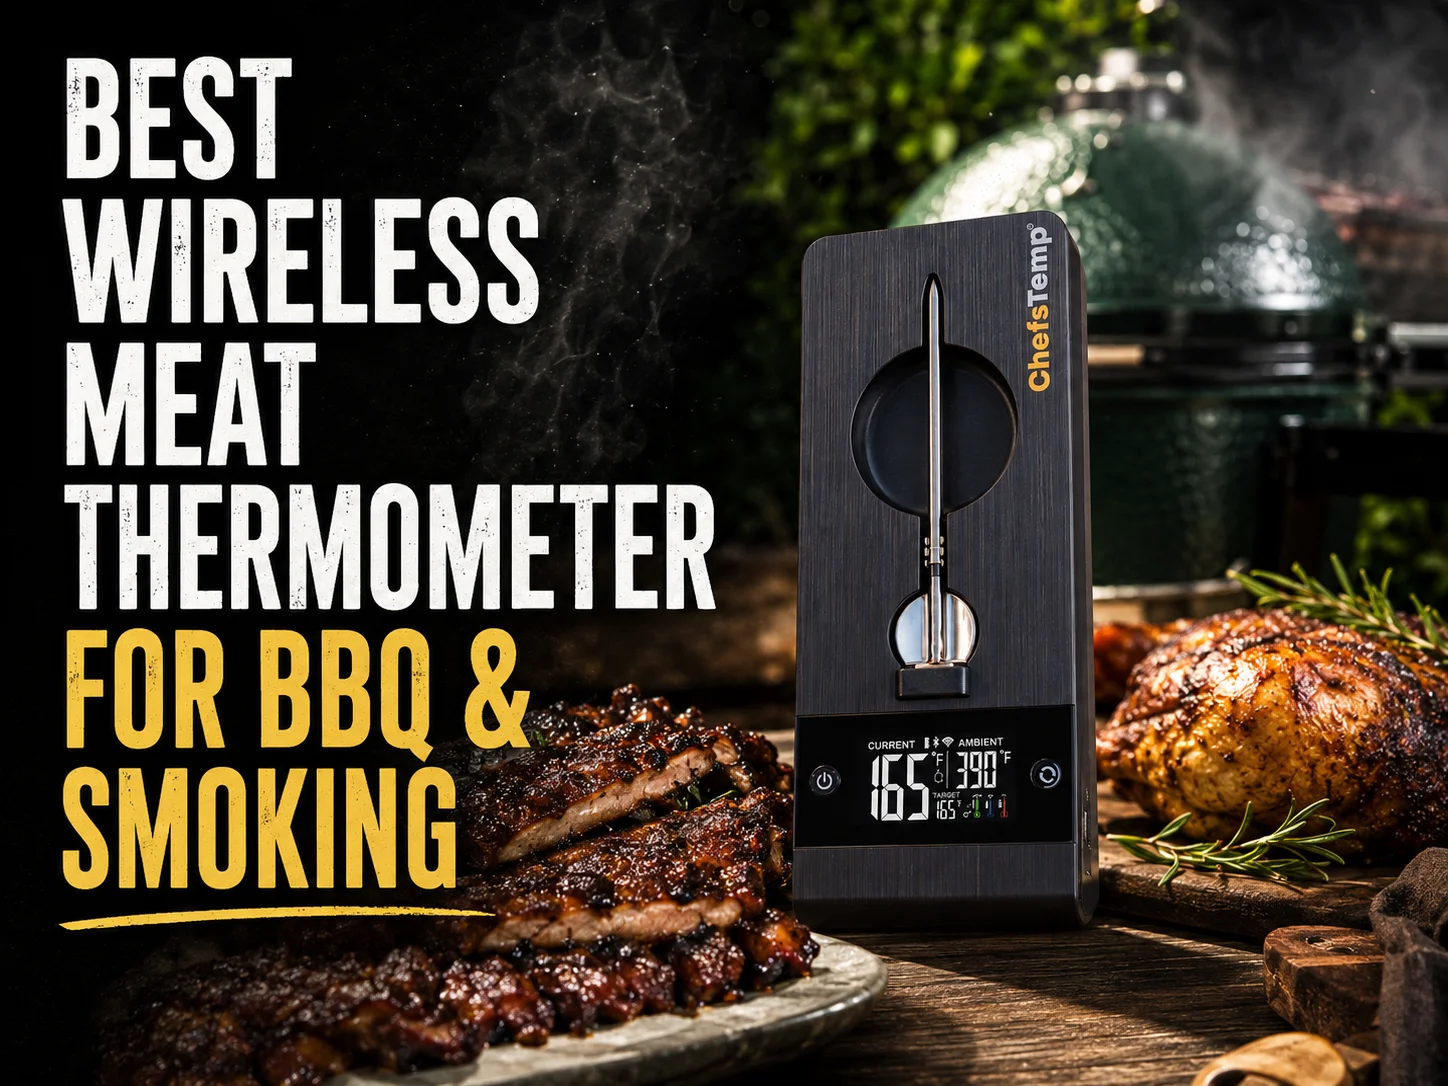
I will not cook any type of poultry until I have carefully and strategically inserted my smart wireless meat thermometer into the thickest part of the breast, avoiding the bone. I don’t care about marketing fluff. I want the specifications that directly impact my meat:
-
Ultra-Thin Profile: The probe has an ultra-thin 4.55mm needle, which means it punctures the meat so insignificantly that it will preserve the vital liquids.
-
Hyper-Precise Sensors: Within that little needle is a collection of 6 hyper-precise sensors (5 internal, 1 external) that have an extraordinary accuracy of ±0.5°F.
Getting the probe into the food this well is your guarantee for a flawless dish.
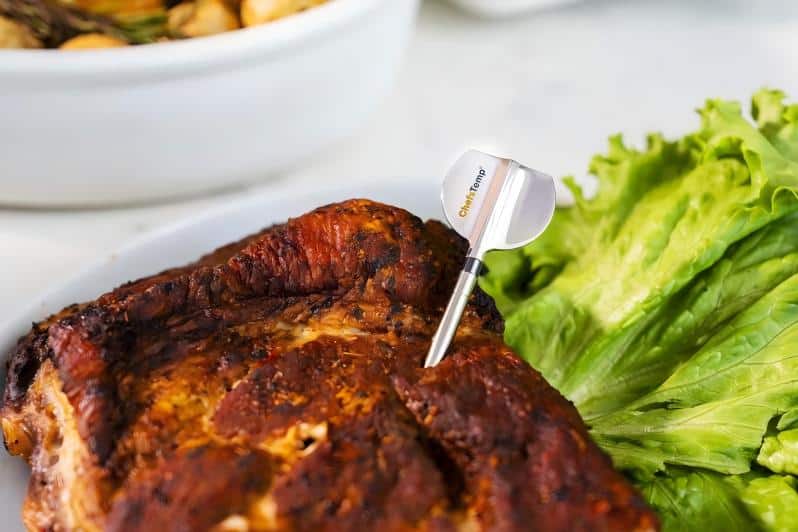
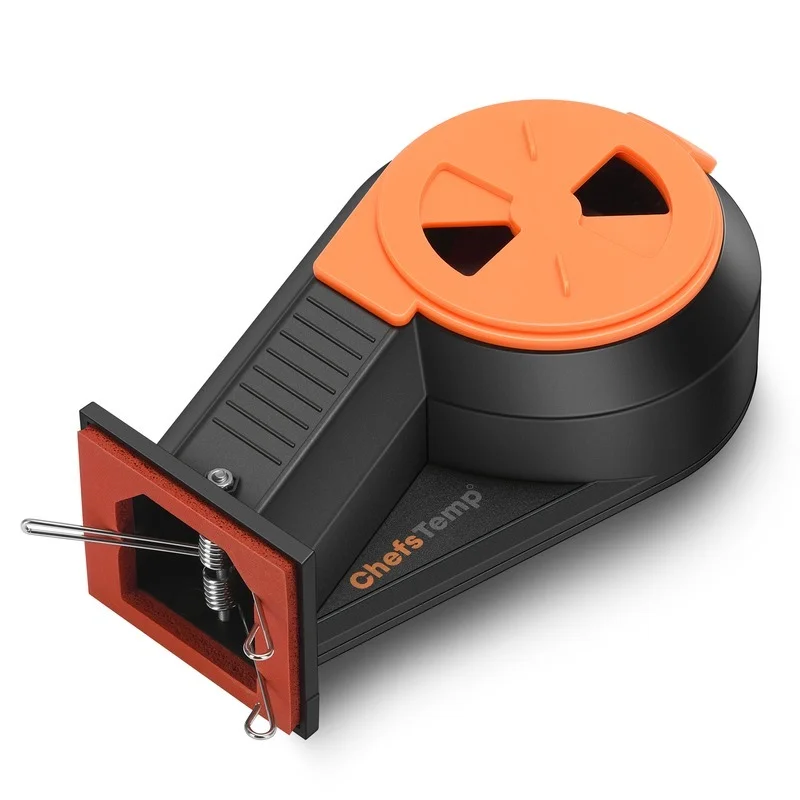
ChefTemp ProTemp 2 Plus
Step 4: Firing Up the Smoker and Heat Management
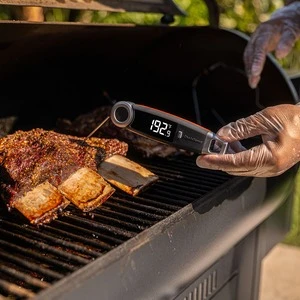
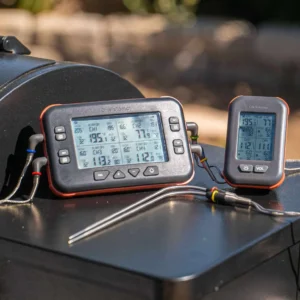
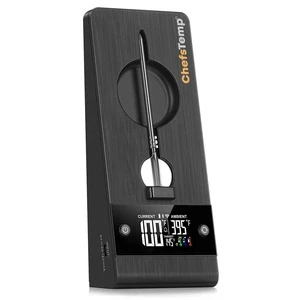
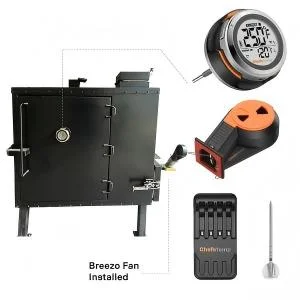
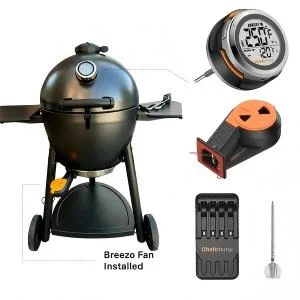
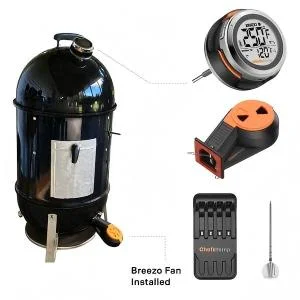
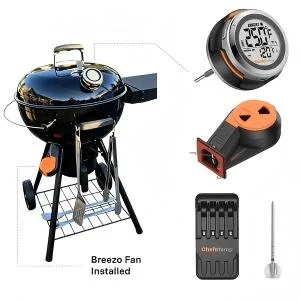
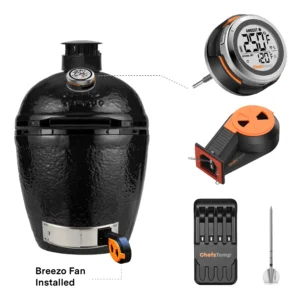
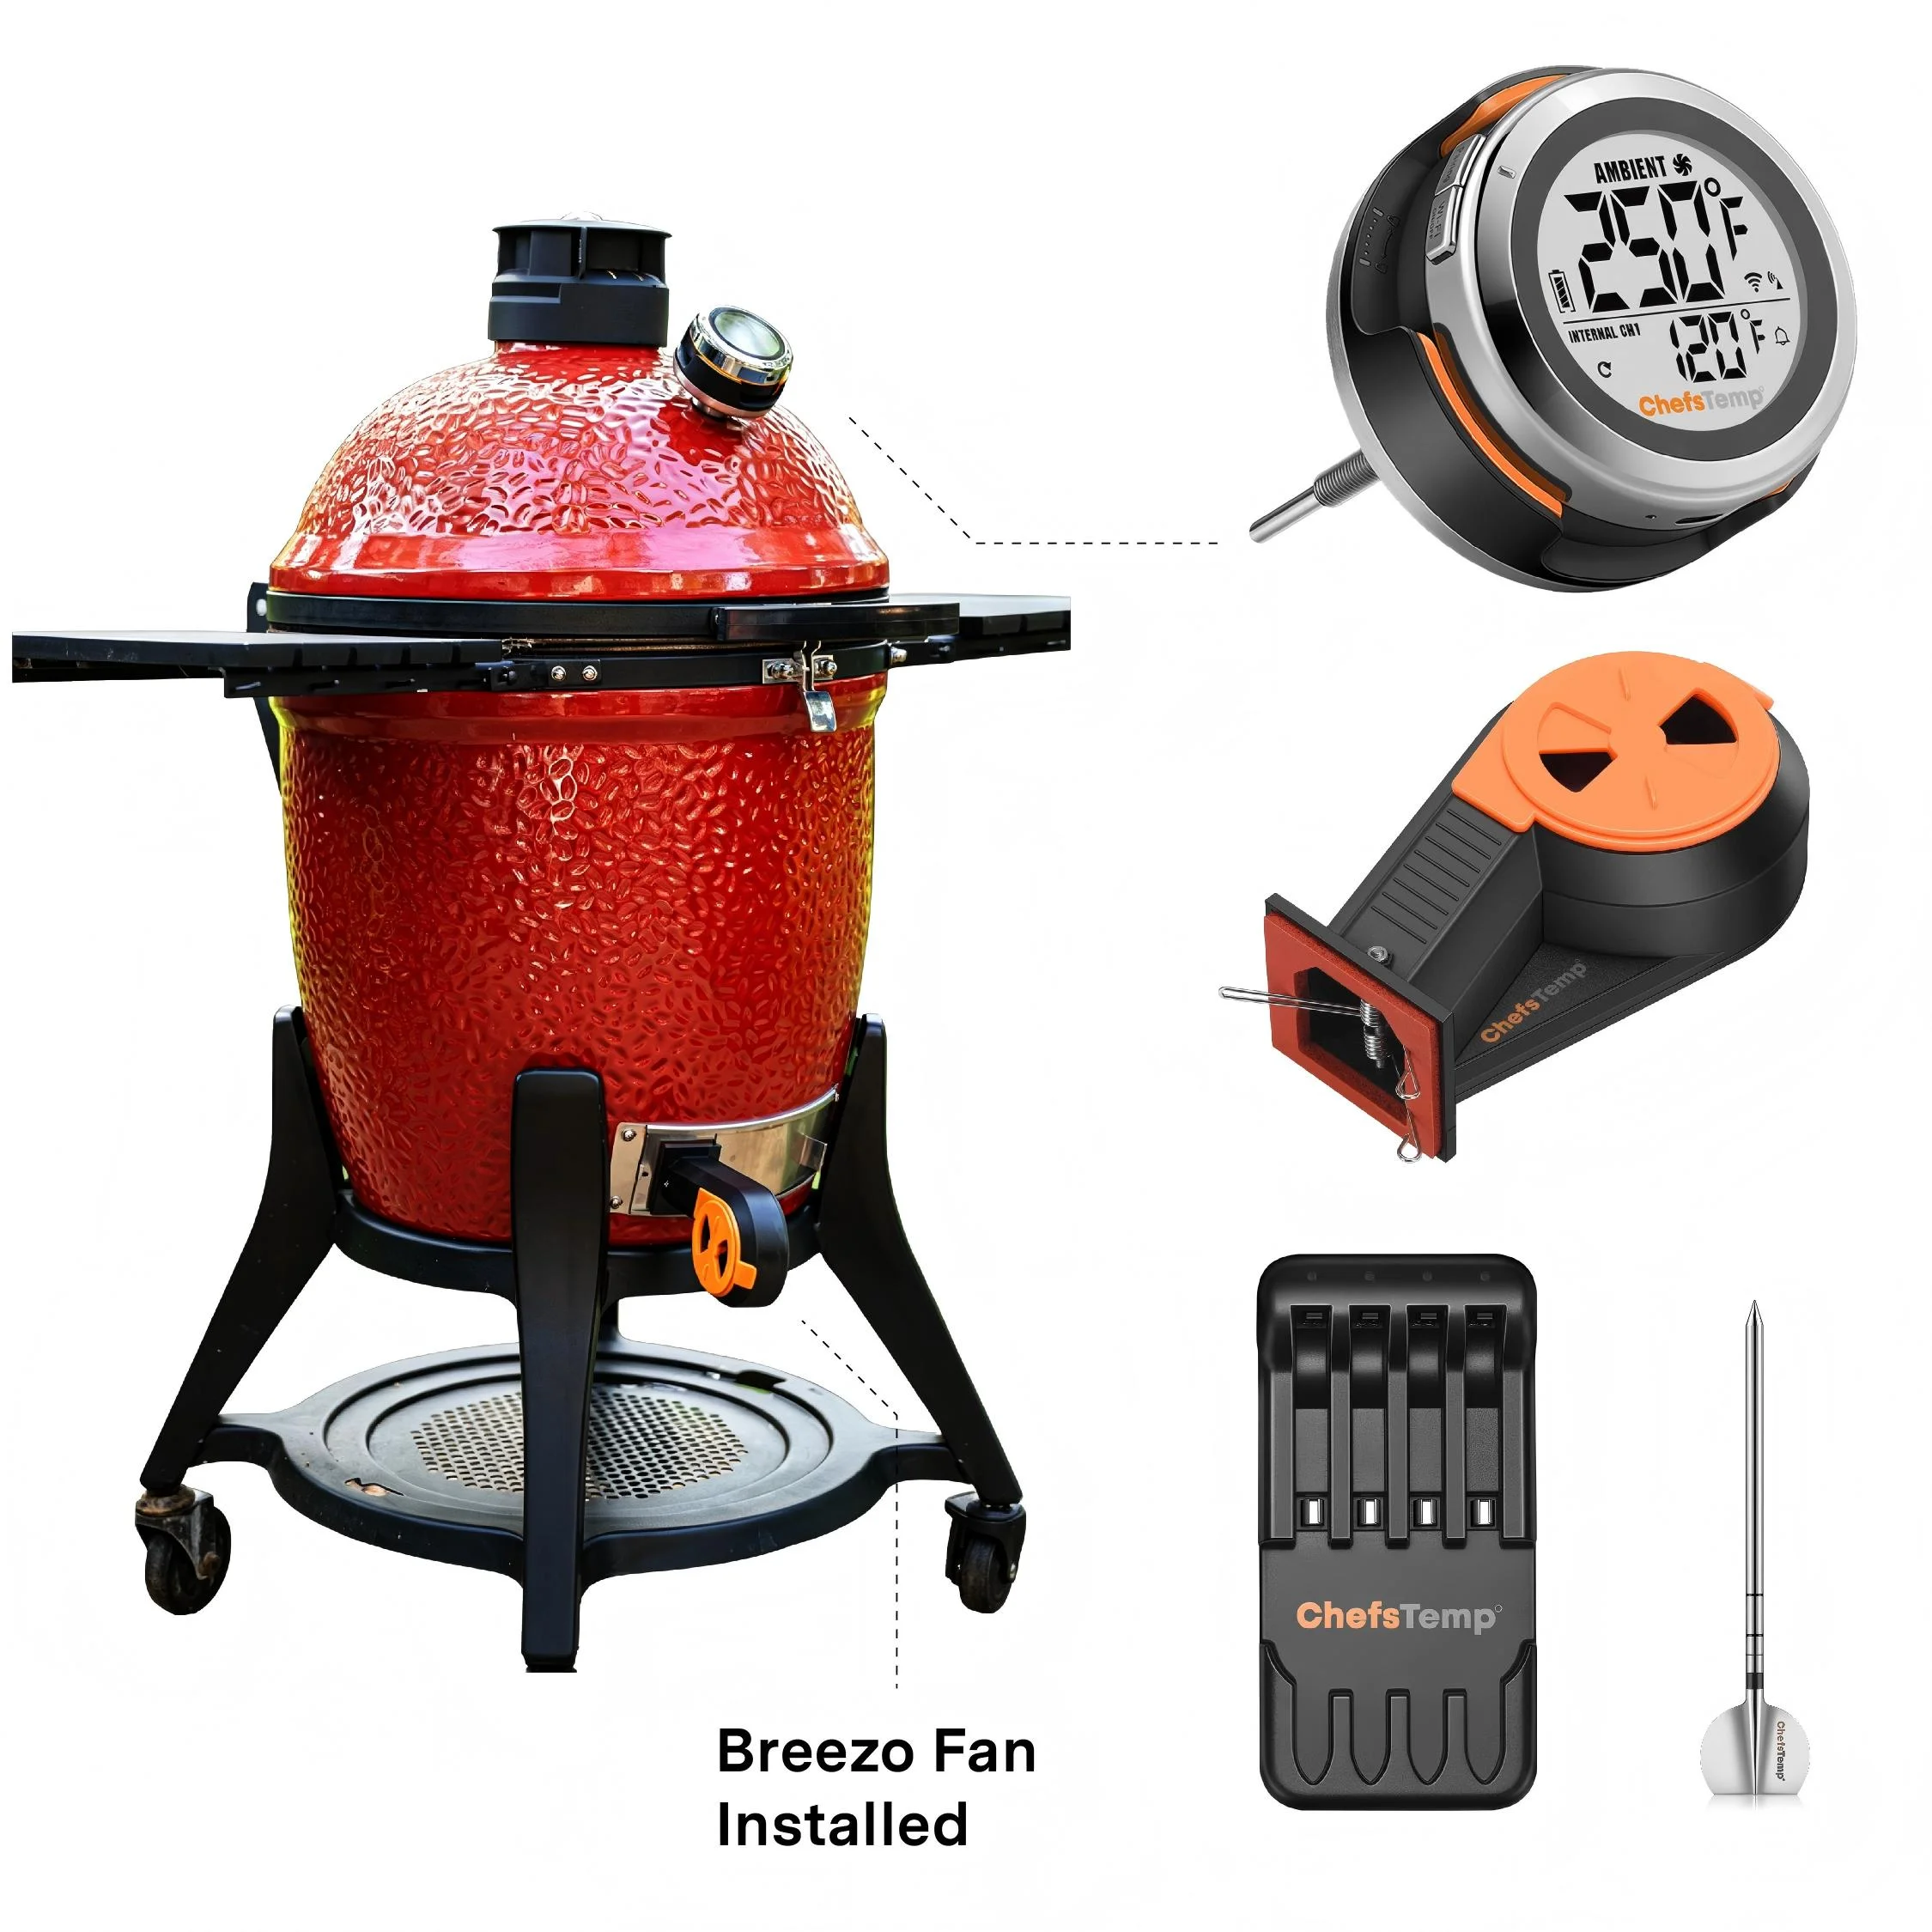
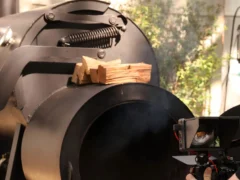
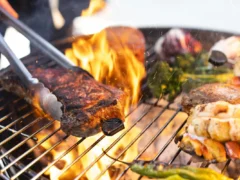
Now that the bird is prepped, the next step is firing up the pit. Firing up the pit leads to the next question. How do you smoke a turkey, and at what temperature? This is a controversial topic that often leads to endless debates. Some guys swear by the “low and slow” method when they smoke turkey, and they message me to ask how long to smoke a turkey at 250 degrees. I’ll give you the truth. If you want rubbery, chewy skin that you have to peel off and toss into the trash, then go ahead and try to figure out how long to smoke a turkey at 250. The thing is, at 250, the fat doesn’t render; it is directly under the skin. Now, if you want to get results that are more professional, you have to smoke the turkey at what temp? I do it at a healthy 275-300 degrees Fahrenheit. This type of heat is higher and lets the turkey get past the stall and creates a crispy turkey skin. Also, when it comes to the fuel, I recommend that you use Pecan wood pellets. This type of wood creates a sweet and nutty smoke that is not overpowering to the turkey meat. To obtain and hold 275°F in a traditional BBQ charcoal-style cooking setup (Kamado, Weber, etc.), you’ll need to learn how to stabilize your pit. I remove the stock mechanical dome thermometer and replace it with a smart grill gauge like the ProTemp S1 connected to the Breezo V2 fan. The fan handles the airflow autonomously. I don’t touch the vents, and I don’t hold my breath while waiting for a spike in ambient temperature.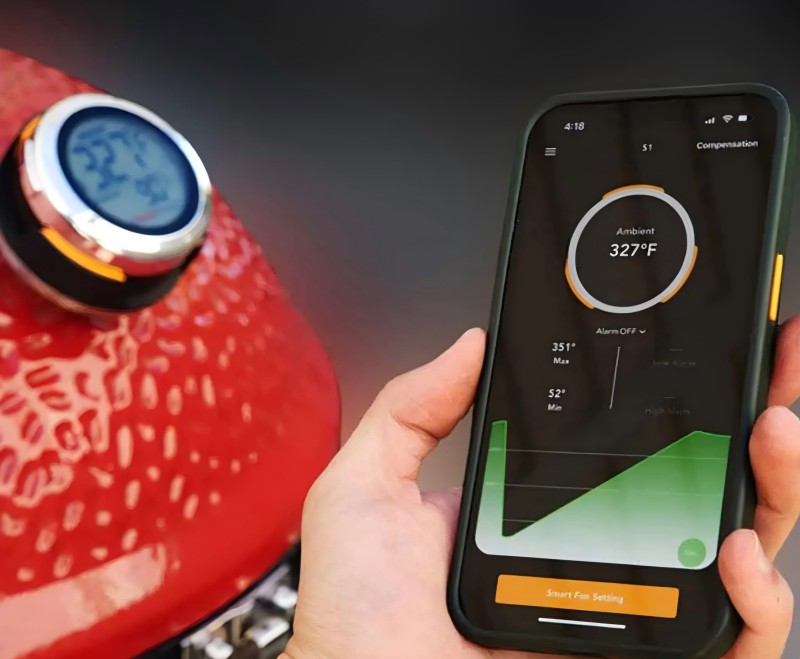
ProTemp S1
Step 5: The Cook and Managing Time
I place the wire rack holding the bird directly in the center of the grates. This is the moment where everyone starts stressing out, trying to figure out how long to smoke a turkey. Because we aren’t cooking at a torturously slow 250°F, your timeline speeds up beautifully. While you should never cook strictly by the clock, here is a breakdown of estimated cook times for smoked turkey when running your pit at 275°F (12 to 15 minutes per pound):- 10 to 12 lbs: Expect about 2.5 to 3 hours.
- 14 to 16 lbs:Expect about 3 to 4 hours.
- 18 to 20 lbs: Expect about 4 to 5 hours.
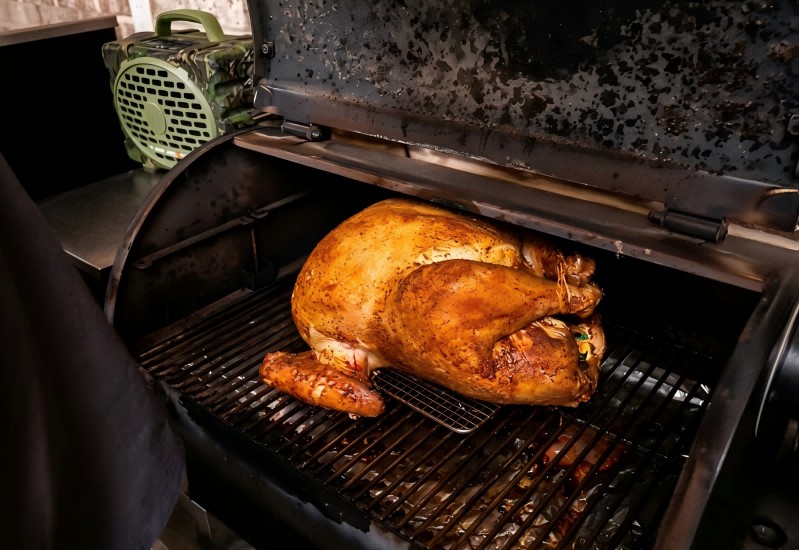
The Cook and Managing Time
Step 6: Resting and Carving for the Perfect Bite
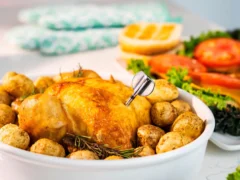
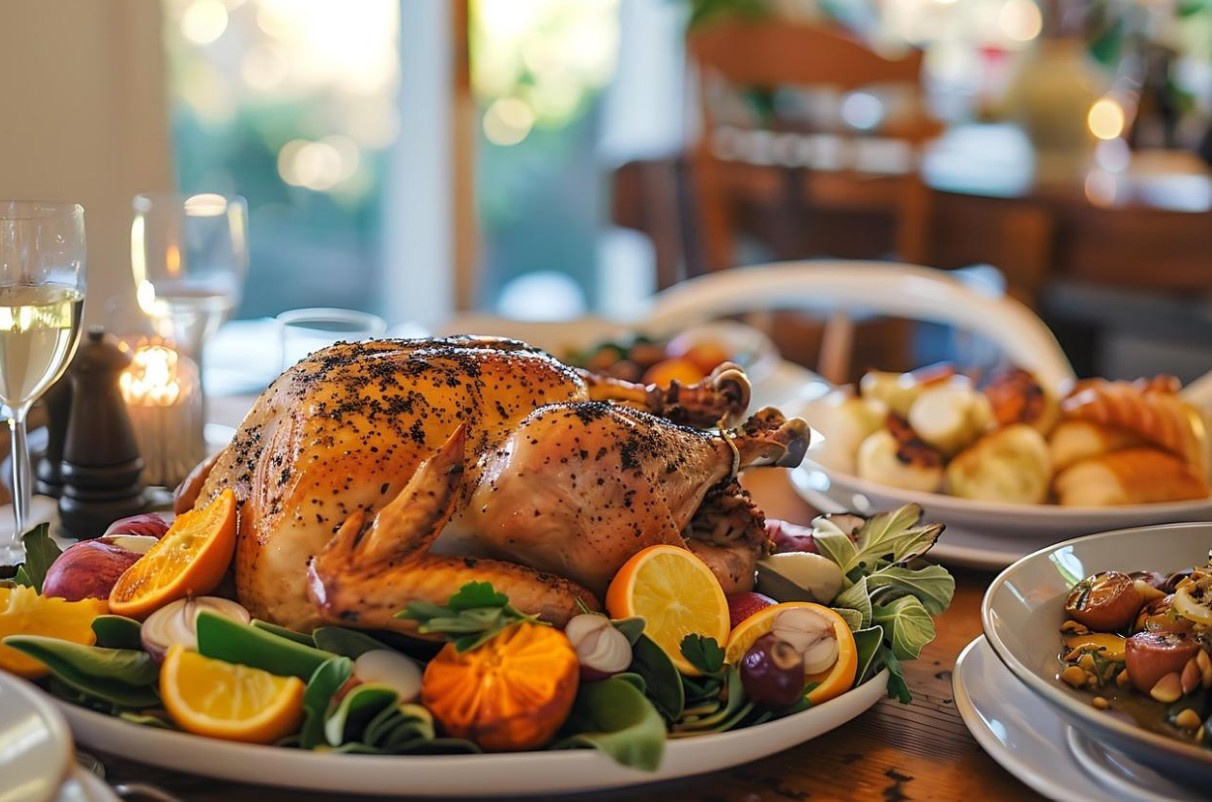
According to the USDA’s safe minimum internal temperature guidelines, a whole turkey is considered safe to eat when it reaches a minimum internal temperature of 165 degrees Fahrenheit, measured in the thickest part of the breast, the innermost part of the wing, and the innermost part of the thigh. I explain the science of carryover heat. Once you pull that bird out of the pit, the thermodynamics keep pushing the internal core heat up. Let the bird rest uncovered on a cutting board for at least 20 minutes. It will naturally rise to that perfectly safe, juicy 165 mark. The dark meat will finish even higher, closer to 175, which is just right where the tough connective tissues break down. This resting period is just as crucial to the overall cook times for smoked turkey as the actual time cooking. When you finally cut down the breastbone, you’ll see completely clear, flowing juices, and hear the crunch of perfectly rendered skin.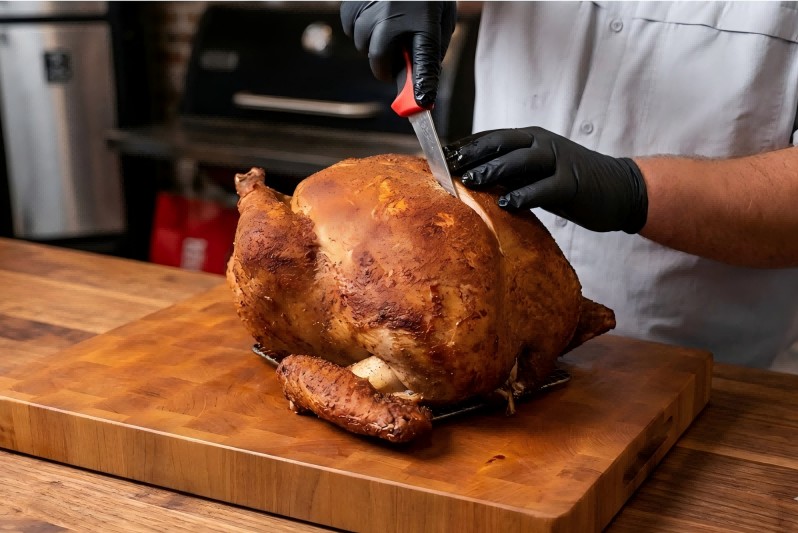
Resting and Carving for the Perfect Bite