Nearly everybody loves to eat a nicely cooked, juicy piece of chicken but it’s also important to know how the use of a meat thermometer can help you when it comes to taste and safety. Getting the correct cooked chicken temp does not have to be a difficult task, as we will show you here with the right tools you can get the perfect results every time.
Get to know the optimum temperatures for your cooked chicken and improve the flavor. There are ways to make your cooked chicken juicier and succulent if you ignore the preconceived ideas that pink or slightly bloody chicken is just wrong. This article is designed to instruct you on all you need to know to ensure that your chicken is safe to eat as well as being hugely delicious!
It’s important to know that your food safety is dependent on the internal cooked chicken temperature more than the color of the meat. When it comes to chicken, you are naturally looking for the meat to be an off-white color and may shrink away in terror at any pinkishness that may occur even after cooking.
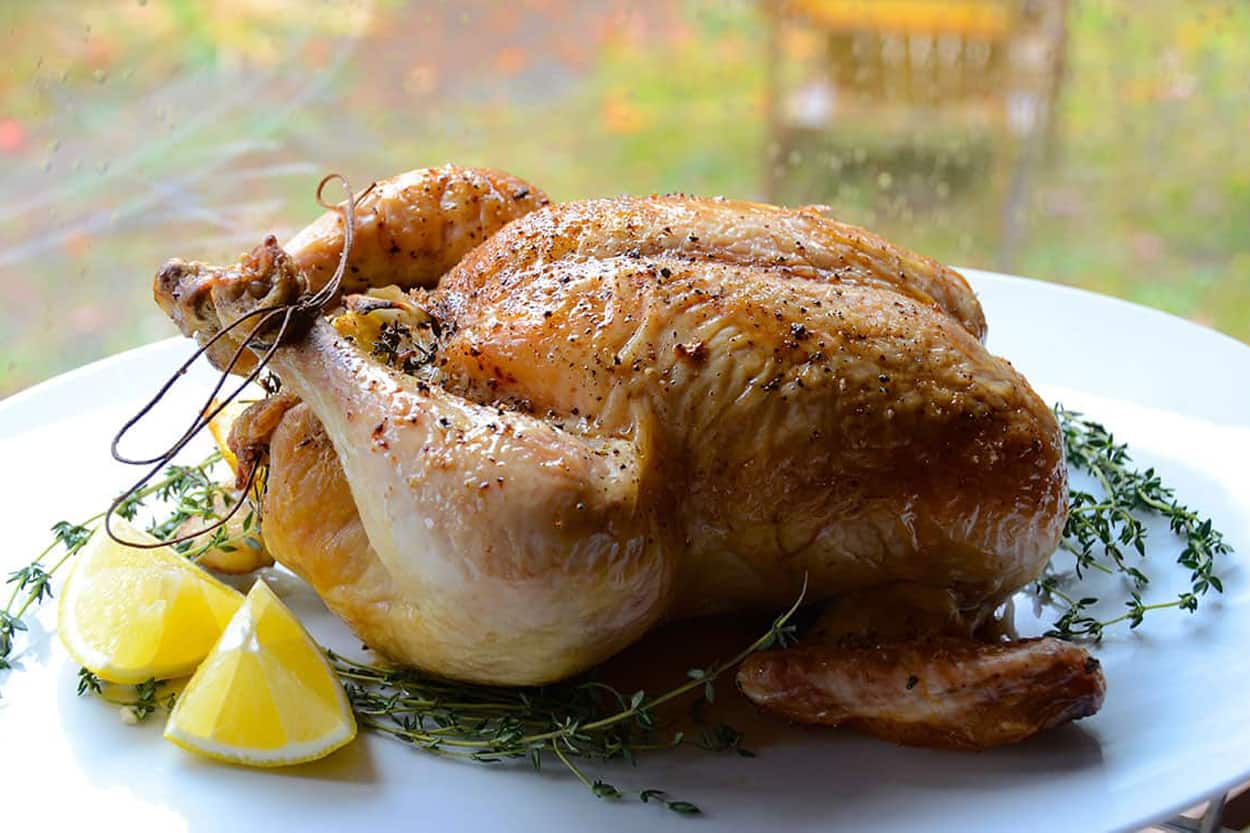
https://www.chefstemp.com/wp-content/uploads/2021/07/Chefstemp-roasted-chicken.jpg
A quote from the Hospitality Institute of Technology and Management states, “If consumers were taught to eat safely prepared, bloody chicken, as they want to do with beef, they would be able to enjoy juicier chicken.”
So, it’s time to rid yourself of the pre-conceived notions that a little blood in your chicken means you need to continue to cook it. Let’s get one thing straight from the start, chicken is safe to eat if the chicken’s cooked temperature is right.
We have all got used to the idea that steak and beef can be cooked to varying degrees of doneness and will quite often contain blood and exhibit a pink hue. We have absolutely no problem with this. For some cultural reason, we tend to believe that chicken has 2 states, properly cooked chicken or not properly cooked and that properly cooked chicken is uniform and unchanging, there are no levels of doneness. This leads to mountains of over-cooked chicken as cooks seem terrified to undercook it and poison everyone at the table. Overcooked chicken is horrible, just as any other overcooked meat is and it can be avoided.
It really doesn’t matter which meat you are cooking, the higher the temperature the more the juices will be lost from it causing it to become a lot less tender and delicious. Keeping an eye on the temperature of the chicken is the only way for you to make sure that you get the perfect results every time you cook chicken.
How do I make sure that the temperature is perfect in my cooked chicken?
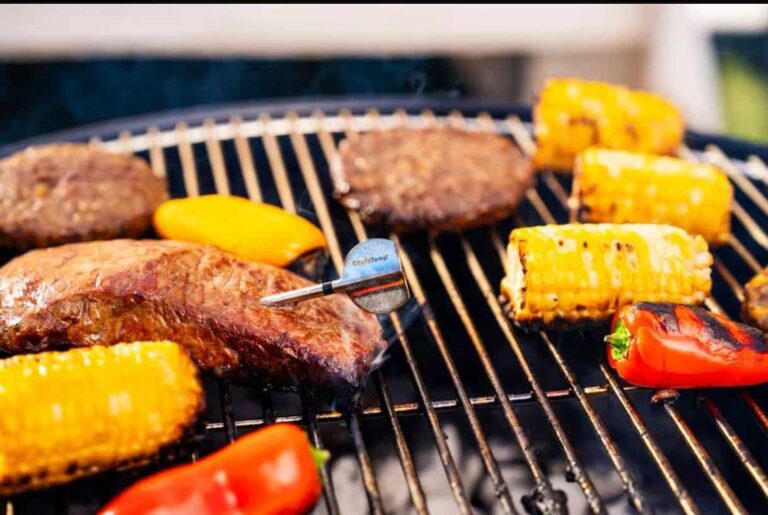
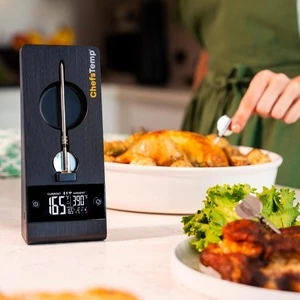
There’s one key temperature that you have to remember when you cook your chicken, and that is 165°F (74°C). This is the temperature at which foodborne bacteria are killed instantly. This wipe-out point for bacteria is recommended for poultry of all kinds because at this temperature even salmonella (which can be a killer) is completely annihilated. Even if you have a wonky old dial thermometer that is off by 10 degrees your chicken only needs to cook for just over a minute at 155°F (68°C) to ensure the safety of the food. This information sounds counterintuitive to everything we have heard about cooking chicken and its safety since we were kids in our Mum’s kitchen’s but it is, I assure you, completely true. Have a look here at our ‘kill list’ and ensure that your cooked chicken is delicious, not dangerous.
Although leg and thigh meat is safe at 165°F you should cook your chicken until you reach an internal temperature of 170-175°F (77-79°C). Chicken legs are muscle and sinew (much like all legs) and contain meat that is a bit tougher than the rest of the bird. Chicken legs need to be cooked at a higher temperature than the breast of the bird because they are comprised of more connective muscle that needs time at high temps to liquefy properly. Cooking leg meat at a higher temperature will make sure that the dark meat will become juicy and tender. ChefsTemp has been perfecting handheld, digital and infrared thermometer technology for decades and provides award-winning professional-grade cooking tools to help you get the best out of your chicken by checking the chicken’s internal temperature.
https://www.chefstemp.com/wp-content/uploads/2021/07/Chefstemp-brisket.jpg
Why the juice in undercooked and raw chicken is dangerous
Scientists have advised that the juice from unfrozen chickens gives bacteria the perfect situation in which to multiply especially campylobacter, the bacteria that frequently causes food poisoning. The study found that chicken juice helps campylobacter attach to kitchen surfaces. Although thorough cooking kills off the bacteria, around 500,000 people suffer from campylobacter food poisoning each year reinforcing the necessity for meat thermometers. A simple meat thermometer reading can help cooks avoid serving dangerous chicken.
Ongoing research by the Institute of Food Research has demonstrated that the persistence of campylobacter (a group of bacteria that frequently cause food poisoning) is increased by ‘chicken juice’. Organic matter leaking from chicken bodies affords the bacteria the perfect situation to flourish.
The chicken’s color
When people say to you things like your chicken is done if you stick it with a skewer and the juices run clear, ignore them! We also tend to dig around in the chicken to see if we can see any pink flesh, and start to cook it further. The truth is that safely cooked chicken may always display pink, red, and even purple hues and be completely safe. Perfectly cooked moist chicken can be pink in places and here’s why.
One reason why there may be differences in color is because of the age of the chicken. Your standard common or garden supermarket chicken will be between 6 and 8 weeks old meaning that they are young chickens and therefore not fully grown. Their bones are not completely calcified and remain porous and contain bone marrow of a purple hue which shows through the bone structure. Due to the laws of physics, the liquid trapped in the chicken expands during freezing and this includes the chicken’s bone marrow. The meat next to the bone can become stained and keep a red color even after being perfectly cooked at the correct chicken temperature.
Another reason that your cooked chicken will show a red hue is myoglobin. Myoglobin is an opulently pigmented protein that transports oxygen to muscle fibers. The more lively a chicken is, the more oxygen will be found in its muscle thus causing it to have a darker hue.
As chickens are mainly flightless birds, the breast meat is not deeply oxygenized and these low levels of myoglobin are the reason that breasts have subtle white flesh. The worked legs of the chicken contain darker meat since they possess larger levels of myoglobin.
The PH value of the chicken can also affect the color of the chicken meat. A higher PH value coincides with pinker meat.
Arm yourself with this information the next time that you cook chicken and make sure that you enjoy it even though it may sometimes be pink in hue, there’s no need to overcook chicken anymore!
https://www.chefstemp.com/wp-content/uploads/2021/07/Chefstemp-chicken-color-1024×709.png
The best ways, and temperatures to cook skinless, boneless chicken breasts
Believe it or not, Americans eat around 92 pounds of chicken every year, this is a bigger figure than that of the amount of pork and beef consumed and the trend doesn’t look like it’s going to stop. Skinless, boneless, chicken breasts are an adaptable mealtime source of protein because they are perfect for seasoning and sauces and can be cooked in numerous ways. This includes grilling, baking, poaching, sauteing, slow-cooking, and pressure-cooking methods.
Roasting
We’ll start with probably the easiest and most popular method of cooking the chicken. Make sure that you pre-heat your oven to 400 °F and sprinkle the chicken with salt and pepper, also drizzle some olive (or other) oil on it before roasting. Roast your chicken pieces for 25 to 30 minutes, contingent on the thickness of it. Always remember that the chicken pieces will remain cooking due to the residual heat after you extract them out of the oven. Next, let the chicken breasts sit for 5 to 10 mins and then use your meat thermometer to take the internal temperature and ensure that it is 165 °F.
Poaching
Poached chicken is normally included in specialty meals such as enchiladas, chicken salad, and soup. To properly poach boneless, skinless chicken breasts, put them in a big frying pan or skillet, then add 1 or 2 cups of water/ chicken broth.
Next, bring it all to a boil, reduce the heat, cover it over, and cook for 9 to 14 minutes until the chicken breasts reach 160 °F. If you want to you can try poaching the chicken breasts in the oven by putting them in a single layer in a roasting tray. Then, add some lemon slices, peppercorns, and any other herbs and spices that you like to flavor chicken with. Next, boil 4 cups of water and directly pour it over the chicken breasts. Finally, cover and bake at 400 °F for 20 to 35 minutes and use a meat thermometer to check the temperature of the baked chicken breasts.
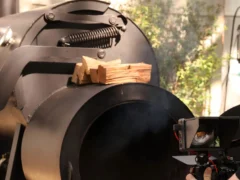
https://www.chefstemp.com/wp-content/uploads/2021/07/Meat-Smoking-Guide-scaled.jpg
Sauteing
To saute your chicken breasts first hammer them until they are thin or chop them up into bite-sized bits. Season the chicken breasts with salt and pepper (always). Next, heat some oil in a frying pan or skillet over medium-high heat, then put the chicken into the pan. Finally, cook for 4 to 5 minutes on both sides until the chicken is cooked through.
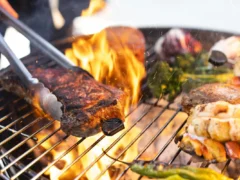
Grilling
Properly grilled chicken breasts are super-delicious and healthy.
Find More Temperature Cooking Tips, Please Refer To Food Temperature Chart By ChefsTemp!
https://www.chefstemp.com/wp-content/uploads/2021/07/Chefstemp-Grilling-e1626764388659.png
Dry the chicken and season it with some salt and pepper. Next, oil a grill grate and pre-heat it to medium heat. Use pincers to put the chicken breasts on the grill and allow them to cook for 5 to 7 minutes. Flip the chicken breasts over and cook for another 5 to 7 minutes, or until the thermometer has reached a suitable temperature. If you love barbecue sauce on your chicken breasts, wait until just before the end of cooking to add it to prevent the sauce from burning.
Slow-cooking
If you get the chance, why not cook boneless, skinless chicken breast in a slow cooker. First, arrange the chicken in the slow cooker and add in half a cup of water or chicken broth if you prefer. Cook the chicken breasts on low for 6 to 8 hours. If your chicken breasts are frozen, don’t worry, you can also cook frozen chicken breasts at a low temperature for 8 to 9 hours.
Pressure Cooking
Your pressure cooker will give you comparable results to the slow cooker but it will cook the chicken breasts in less time. Put your thawed chicken breasts into the pressure cooker with half a cup of water, and then cover and lock the pressure cooker, and bring the pressure up to high. Cook for about 12 minutes and then release the pressure. Next, check the internal temperature of the chicken breasts. After this, you can re-cover the chicken breasts, bring the pressure back up on the cooker, and cook for 2 to 3 minutes more if you think it necessary for a perfect result. No matter which way you cook your chicken, you need to use a meat thermometer to guarantee safe juicy chicken.
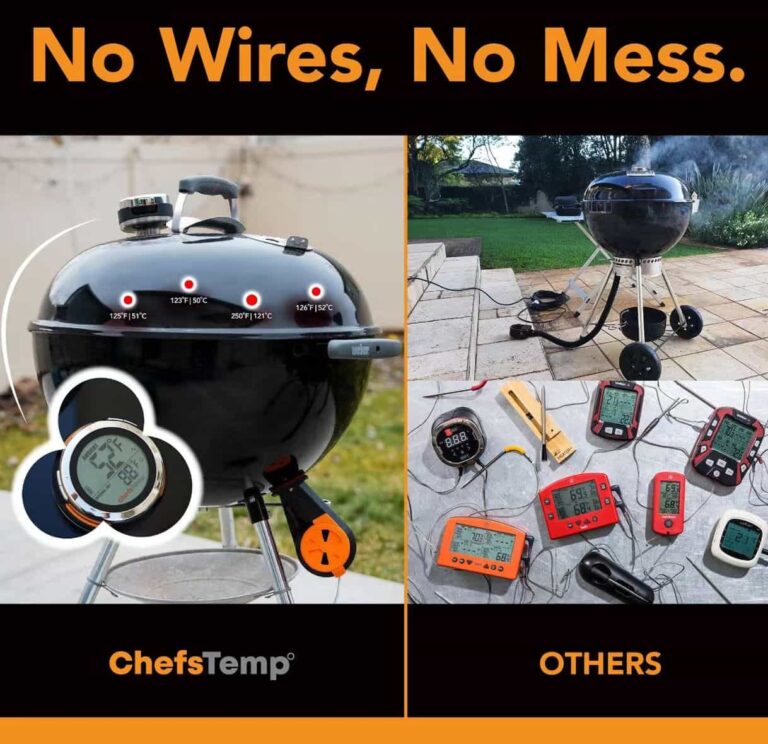
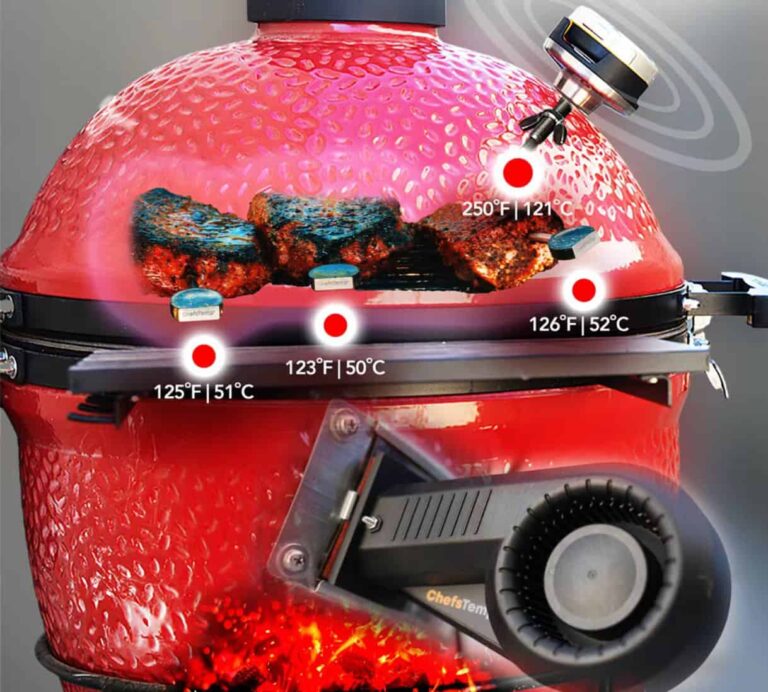
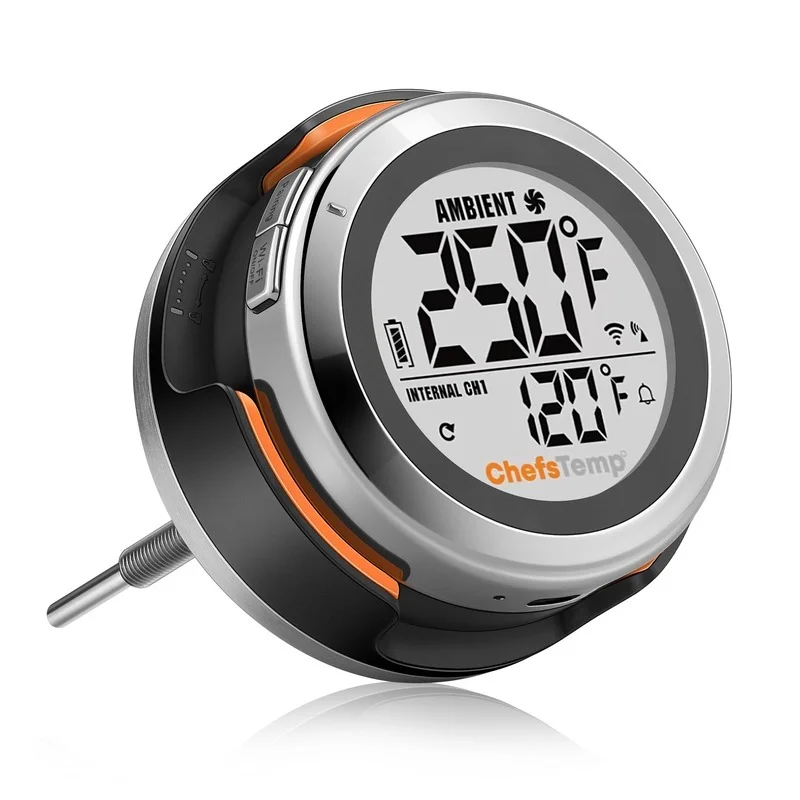
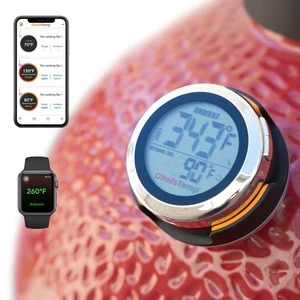
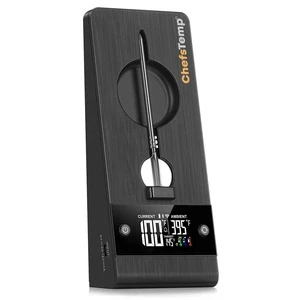
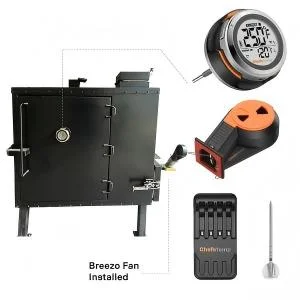
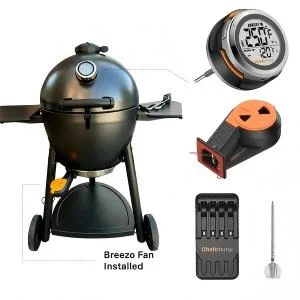
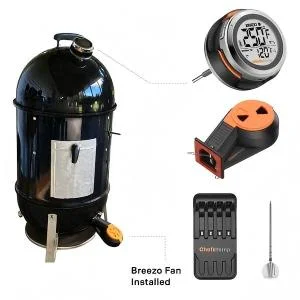
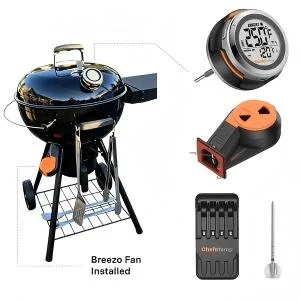
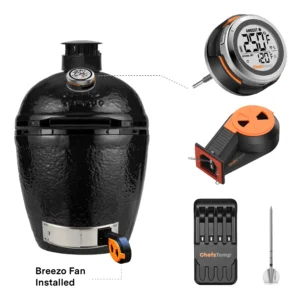
Have a look at different types of meat thermometers for chicken
There’s one thing that we can all agree on and that is that undercooked food is horrible! You can take all the steps possible to make sure that you have prepared your chicken, great marinade, excellent stuffing, superb seasoning, but it all comes down to the degree of the chicken’s doneness, which cannot be gauged without a meat thermometer. Undercooked chicken is not only vile to taste but it’s also a very serious health hazard. There are a lot of foodborne diseases, food poisoning among them, that can strike if your chicken is undercooked. The purpose of this section is to teach you how to avoid these situations and make sure that your chicken is delicious and safe.
https://www.chefstemp.com/wp-content/uploads/2022/03/how-to-use-meat-thermometer-300×171.jpg
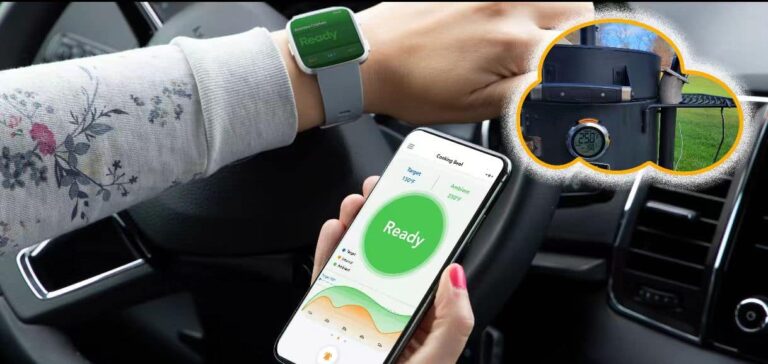
Meat thermometers come in various
types, there are oven-going meat thermometers and instant read-thermometers; the procedure for measuring the temperature of the chicken is different in both cases.
Oven going-meat thermometer
As the name suggests oven going-meat thermometer is the type that is positioned in the chicken and is put inside the oven with the chicken itself. In this position, the meat thermometer can keep a constant watch over the meat and will alert you when the pre-set temperature is achieved.
You can also elect not to keep the oven going-meat thermometer positioned in the chicken if that suits you better. This type of meat thermometer is extensively used for chicken, turkey, and roasts.
Here’s how you use it:
- Hang the meat thermometer inside the oven with the chicken and start to cook.
- Make sure that you keep a close eye on the meat thermometer’s temperature readings and look out for the desired temp range.
- Now it’s reached the desired temperature you can take the chicken out of the oven, it’s ready, delicious, and safe.
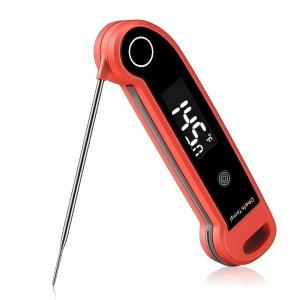
Instant-read thermometers
Instant-read thermometers come in different versions like the dial-instant-read thermometer and the digital-instant-read thermometer. Before practicing with your meat thermometer take note of the type of meat thermometer you’ve bought, and follow the instructions of each carefully.
Digital instant-read thermometers are not designed to be inside the meat while it cooks. The purpose of the instant-read thermometer is to “instantaneously” take the temperature and give you an idea as to how much cooking the chicken needs before it is impeccably cooked. These thermometers are different from oven-used thermometers as they are less complicated and cannot take the temperatures from in the oven. This means that the user has to use discretion to work out when the chicken is cooked, although this is not very difficult and not much effort is required to work this meat thermometer.
To do this we have to adopt some modern tec and make sure that we measure chicken temperatures mathematically (don’t worry, it’s easier than it sounds). Using your meat thermometer is easy as long as you’re aware of the rudimentary concept of temperature measurement. Here we will detail (in steps) the best way to utilize your
meat thermometer to serve the perfect chicken dinner.
Just follow the simple steps below
- Insert the meat thermometer half an inch into the chicken and gauge the temperature.
- Check the chicken temperature readings. When the temperature has been recorded, pull out the meat thermometer.
That’s it, nice and easy!
A dial instant-read thermometer is a traditional dial indicator with a heat-resistant lens. This meat thermometer measures and displays the value in an analog format with both Celsius and Fahrenheit scales displayed on the dial. Let’s have a look at the best way to use one of these.
Firstly, find the thickest part of the chicken.
Secondly, stick the dial instant-read thermometer at least 2 inches into the chicken. If it’s a thin chicken insert it in from the side.
Thirdly, record the temperature that’s displayed on the thermometer and remove it before putting the chicken inside the oven. This meat thermometer cannot survive inside an oven or grill.
https://www.chefstemp.com/wp-content/uploads/2021/07/Chefstemp-crispy-chicken-1024×678.png
Conclusion
If we were to compare the three it would have to be noted that the oven-going thermometer will give you better performance but for ease of use, the digital instant meat thermometer is fine. Meat thermometers allow you to cook constantly delicious chicken and they allow you to make sure that it’s safe to eat as well. It might take you 2 or 3 efforts before you hone the use of your meat thermometer.
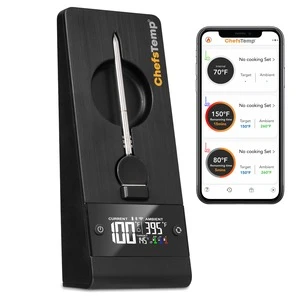
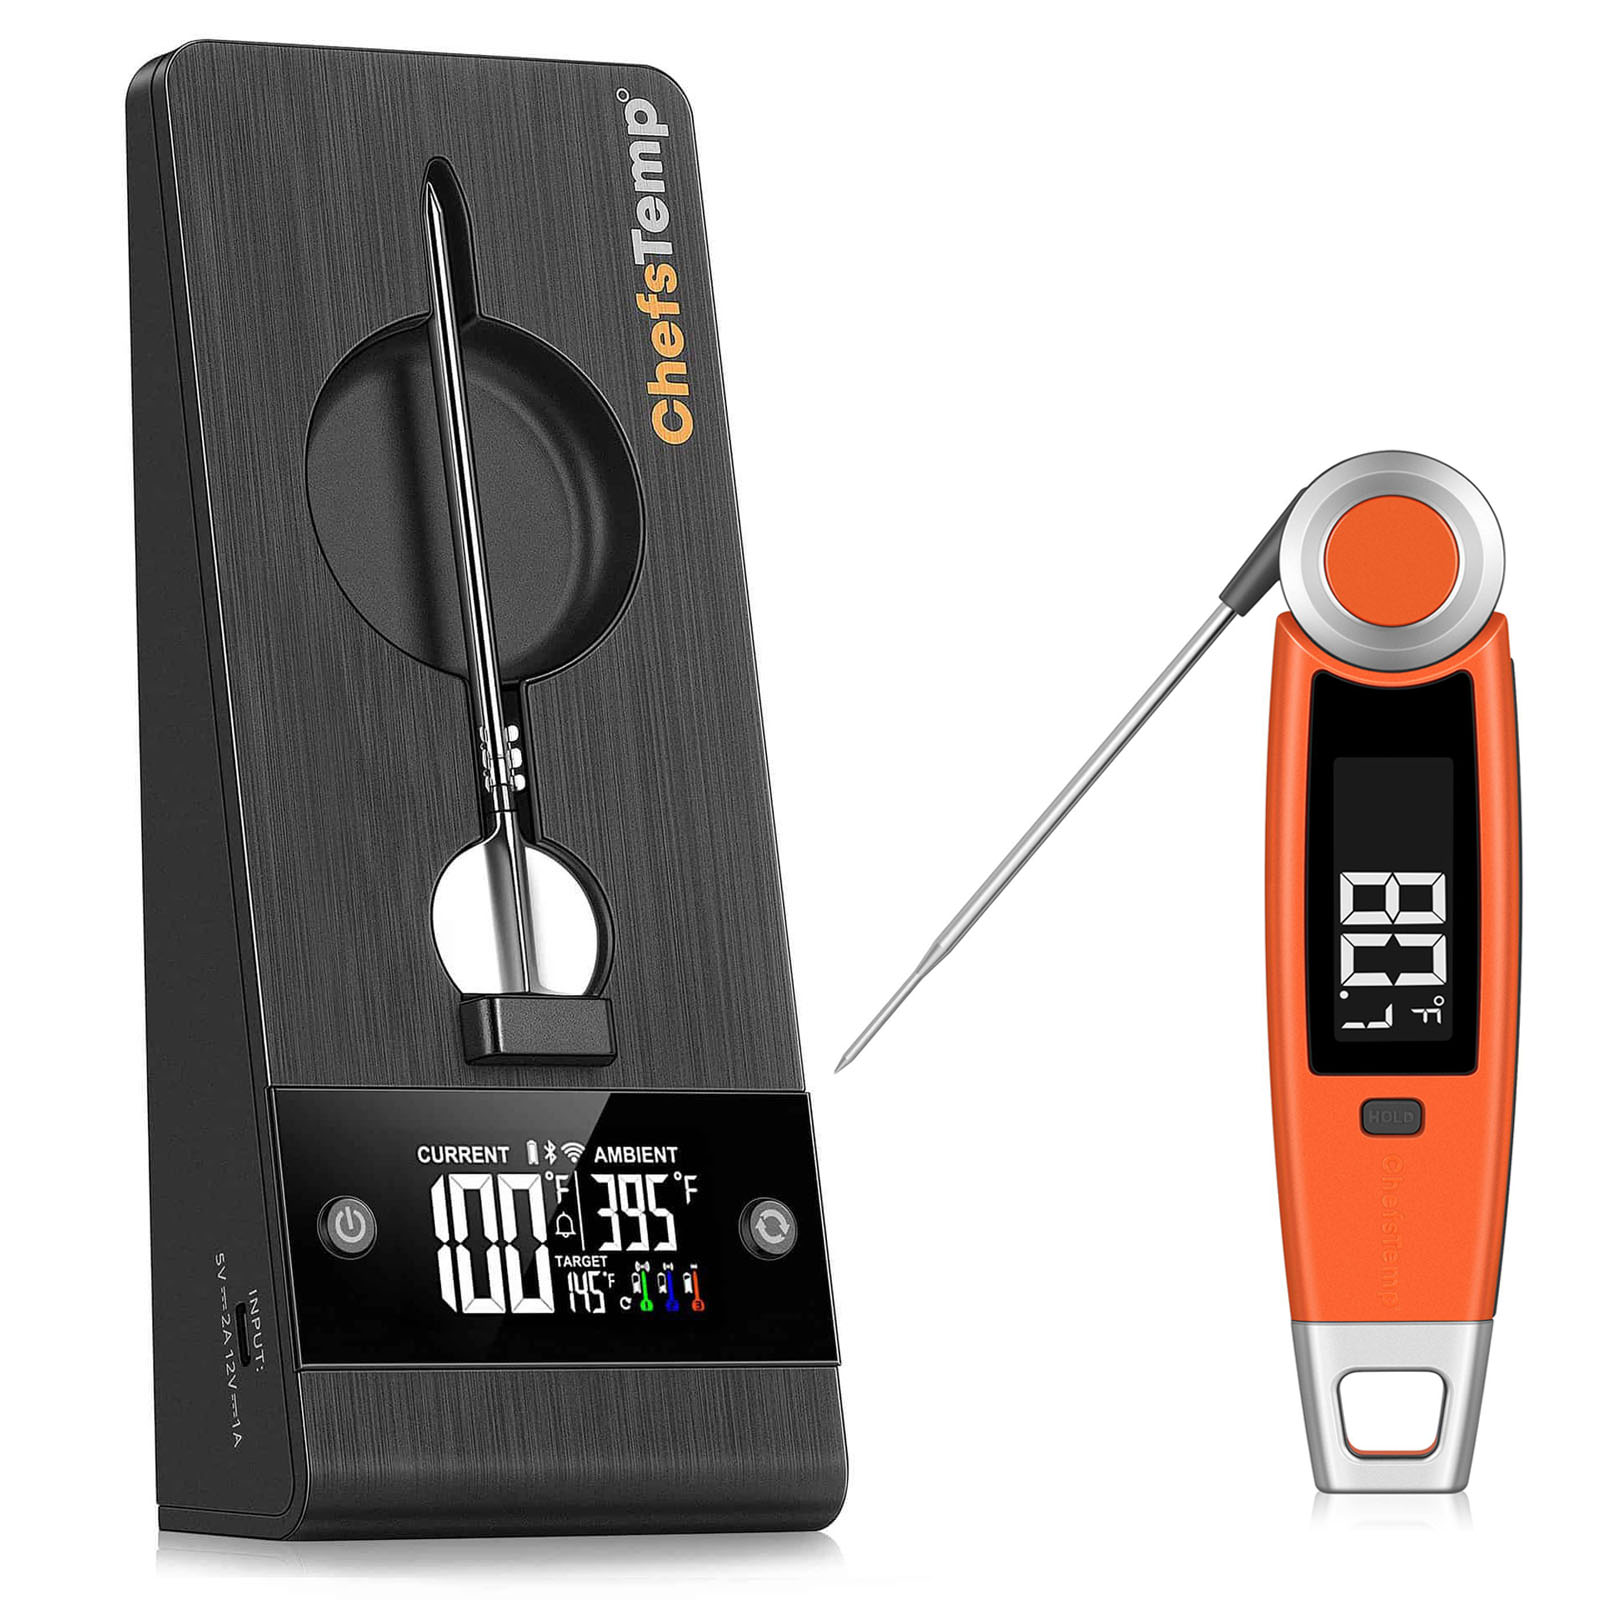
https://www.chefstemp.com/wp-content/uploads/2020/04/finaltouchx10-2-e1607718414763.jpg
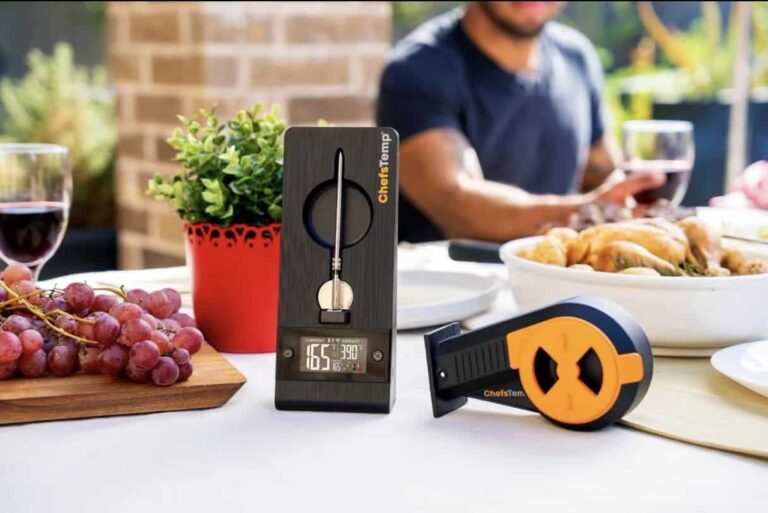
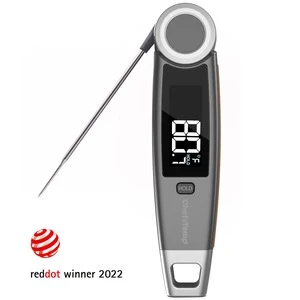
Finaltouch X10
The Finaltouch X10 thermometer from ChefsTemp gives an accurate reading not only for the inside of food but for surface temperatures as well. The diversity of the thermometer’s usage is second to none compared to other thermometers. By getting a reading within 1-3 seconds, the Finaltouch X10 from ChefsTemp is prepared to take on any task it is given.
Related Articles: The ChefsTemp Secret to Cooking Juicy Boneless Chicken Breasts