Tech Support Questions
If you encounter any product issues or have technical questions not covered here, you can start a chat using the message icon in the lower‑left corner for faster assistance. You’re also welcome to contact our Customer Support Team at info@chefstemp.com.
At ChefsTemp, every product is backed by a standard one‑year warranty and lifetime support—so you can cook with confidence from day one. If your device ever runs into an issue, simply reach out to us. Our team will quickly troubleshoot the problem or arrange a replacement.
There’s no need to ship anything back or wait through lengthy repair processes. Once your replacement is confirmed, just relax—your new unit will be on its way. After it arrives, you may dispose of the defective device according to your local regulations.
We’re here to support you through every cook, every season, and every kitchen adventure. Join our Facebook community to connect with other users, share tips, and see how everyone is enjoying their ChefsTemp gear. https://www.facebook.com/groups/chefstempofficial
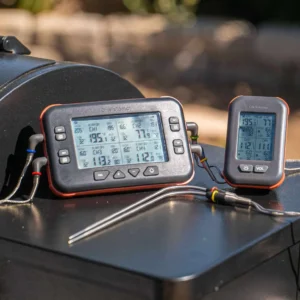
- Checking the Bluetooth connection between the probe and base
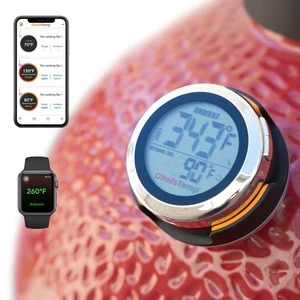
- Diagnosing Wi-Fi signal issues from the base to your phone/router
- Simple fixes like charging, repositioning, and avoiding interference
- When and how to contact support (with tips to get faster help)
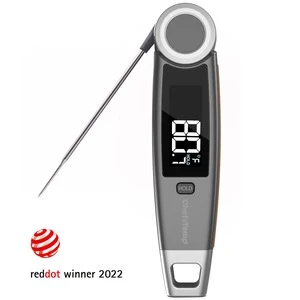
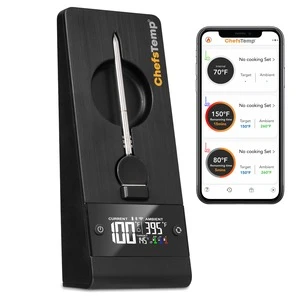
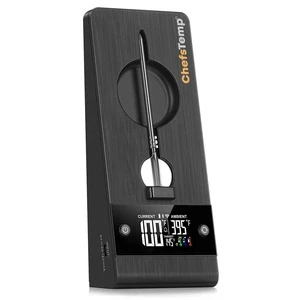
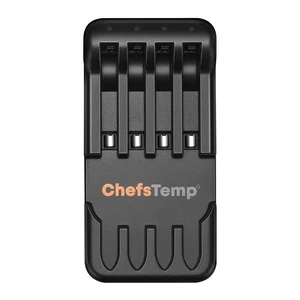
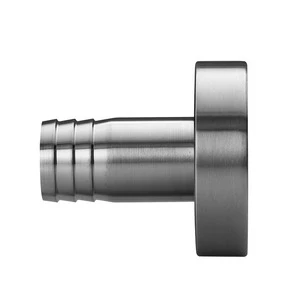
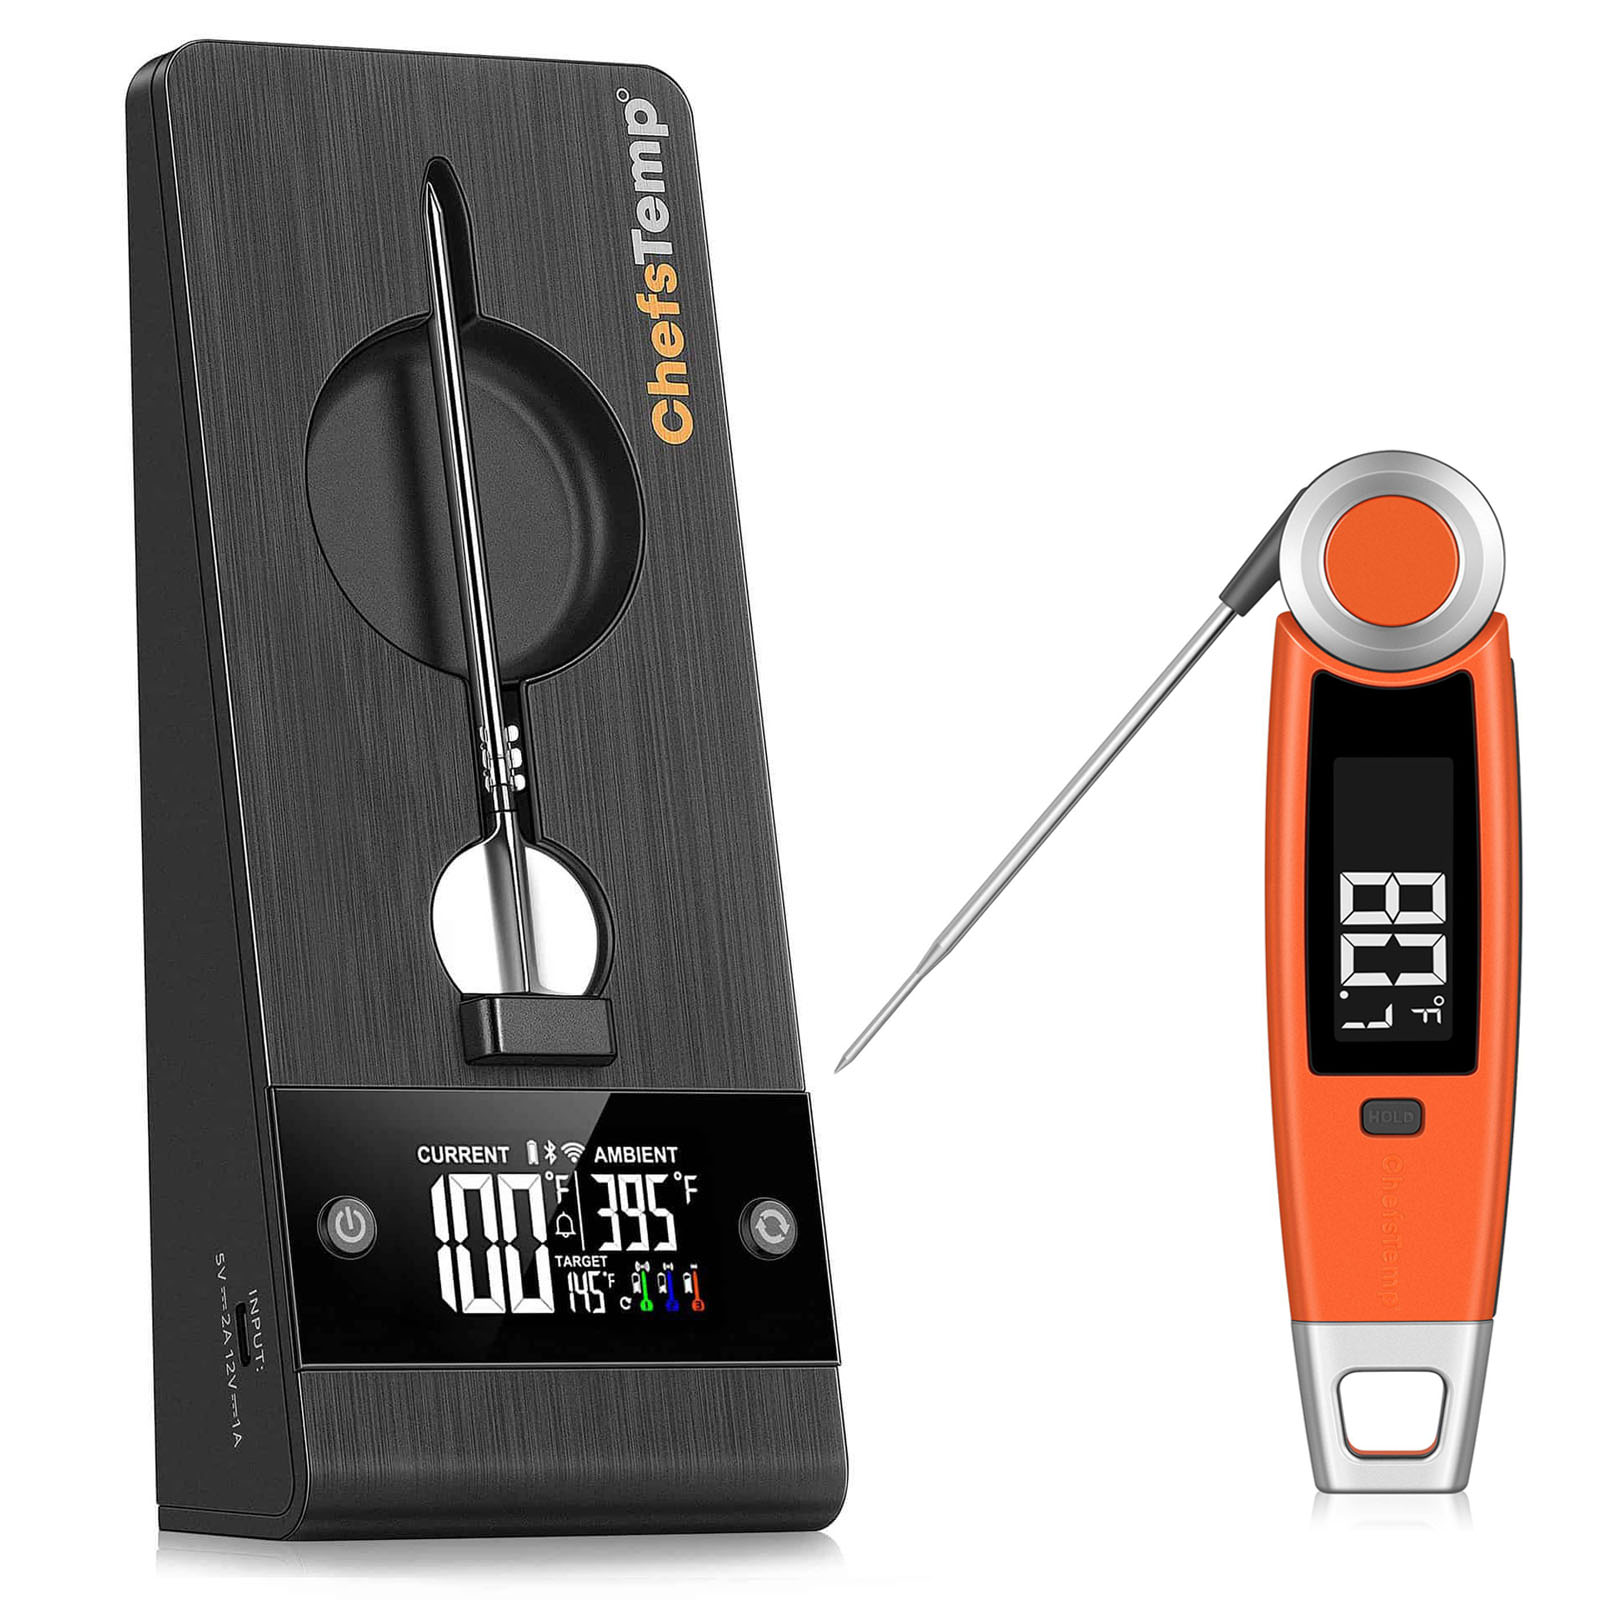
Please note that the port on the left is for charging the Stand, while the port on the right allows the Stand to charge other devices. The ProTemp Plus Series does not support charging Apple phones. And the charging port only supports Type-C cables.
- App Permissions: Make sure the ChefsTemp app has all required permissions—especially location access—enabled on your device. For iOS, please enable “Allow connecting to your nearby devices” in your settings.
- Bluetooth and Wi-Fi Settings: Turn on Bluetooth on your device and ensure the connected Wi-Fi on your phone is on a 2.4GHz network. If your router is an automatic dual-band (or only has the 5GHz Wi‑Fi), simply separate the 2.4GHz and 5GHz bands (or create a guest 2.4GHz Wi‑Fi network) in the router app.
- Password and SSID: Use the orange magnifying glass to auto-detect the SSID, and double-check that the Wi-Fi password is entered correctly, as spell-check may alter it.
- Router Settings: Disable fast roaming (e.g., 802.11r) on your router, as it may prevent the thermometer from connecting.
- Reconnection: After making sure the above settings are correct, delete all your current connections on the app, exit and reopen the app, shut off the Stand to restart it, and connect the thermometer from the beginning.
Please note that the port on the left is for charging the stand, while the port on the right allows the stand to charge other devices.
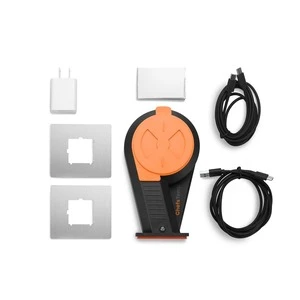
We recommend that you use any 5V2A DC charging block to charge the Stand, and be careful not to let the charging port get wet. You can watch this video: Safely Charge Your ProTemp Plus Series.
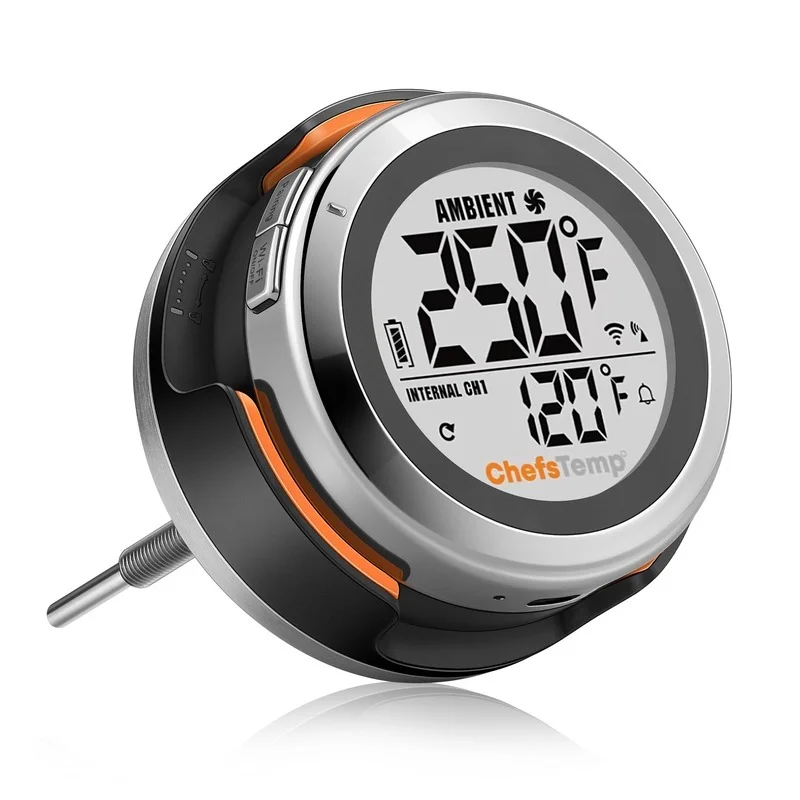
When charging the Stand, the white battery icon on the Stand screen will have a charging animation. After being fully charged, the icon will flash. At this time, remove the charging cable, and the fully-charged battery icon should be solid.
If you encounter problems with charging your Stand, please take a video of the charging process and send it to info@chefstemp.com, and we will analyze and solve it for you.
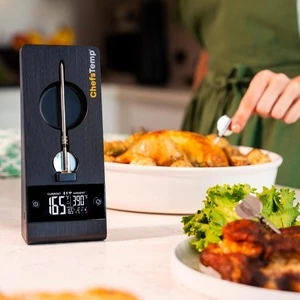
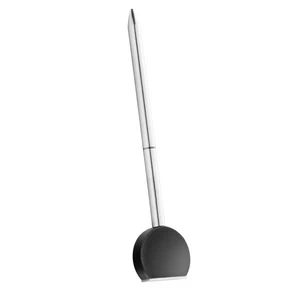
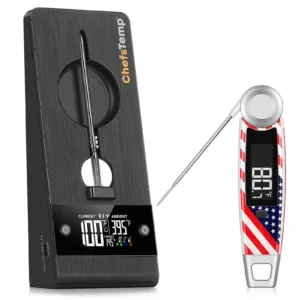
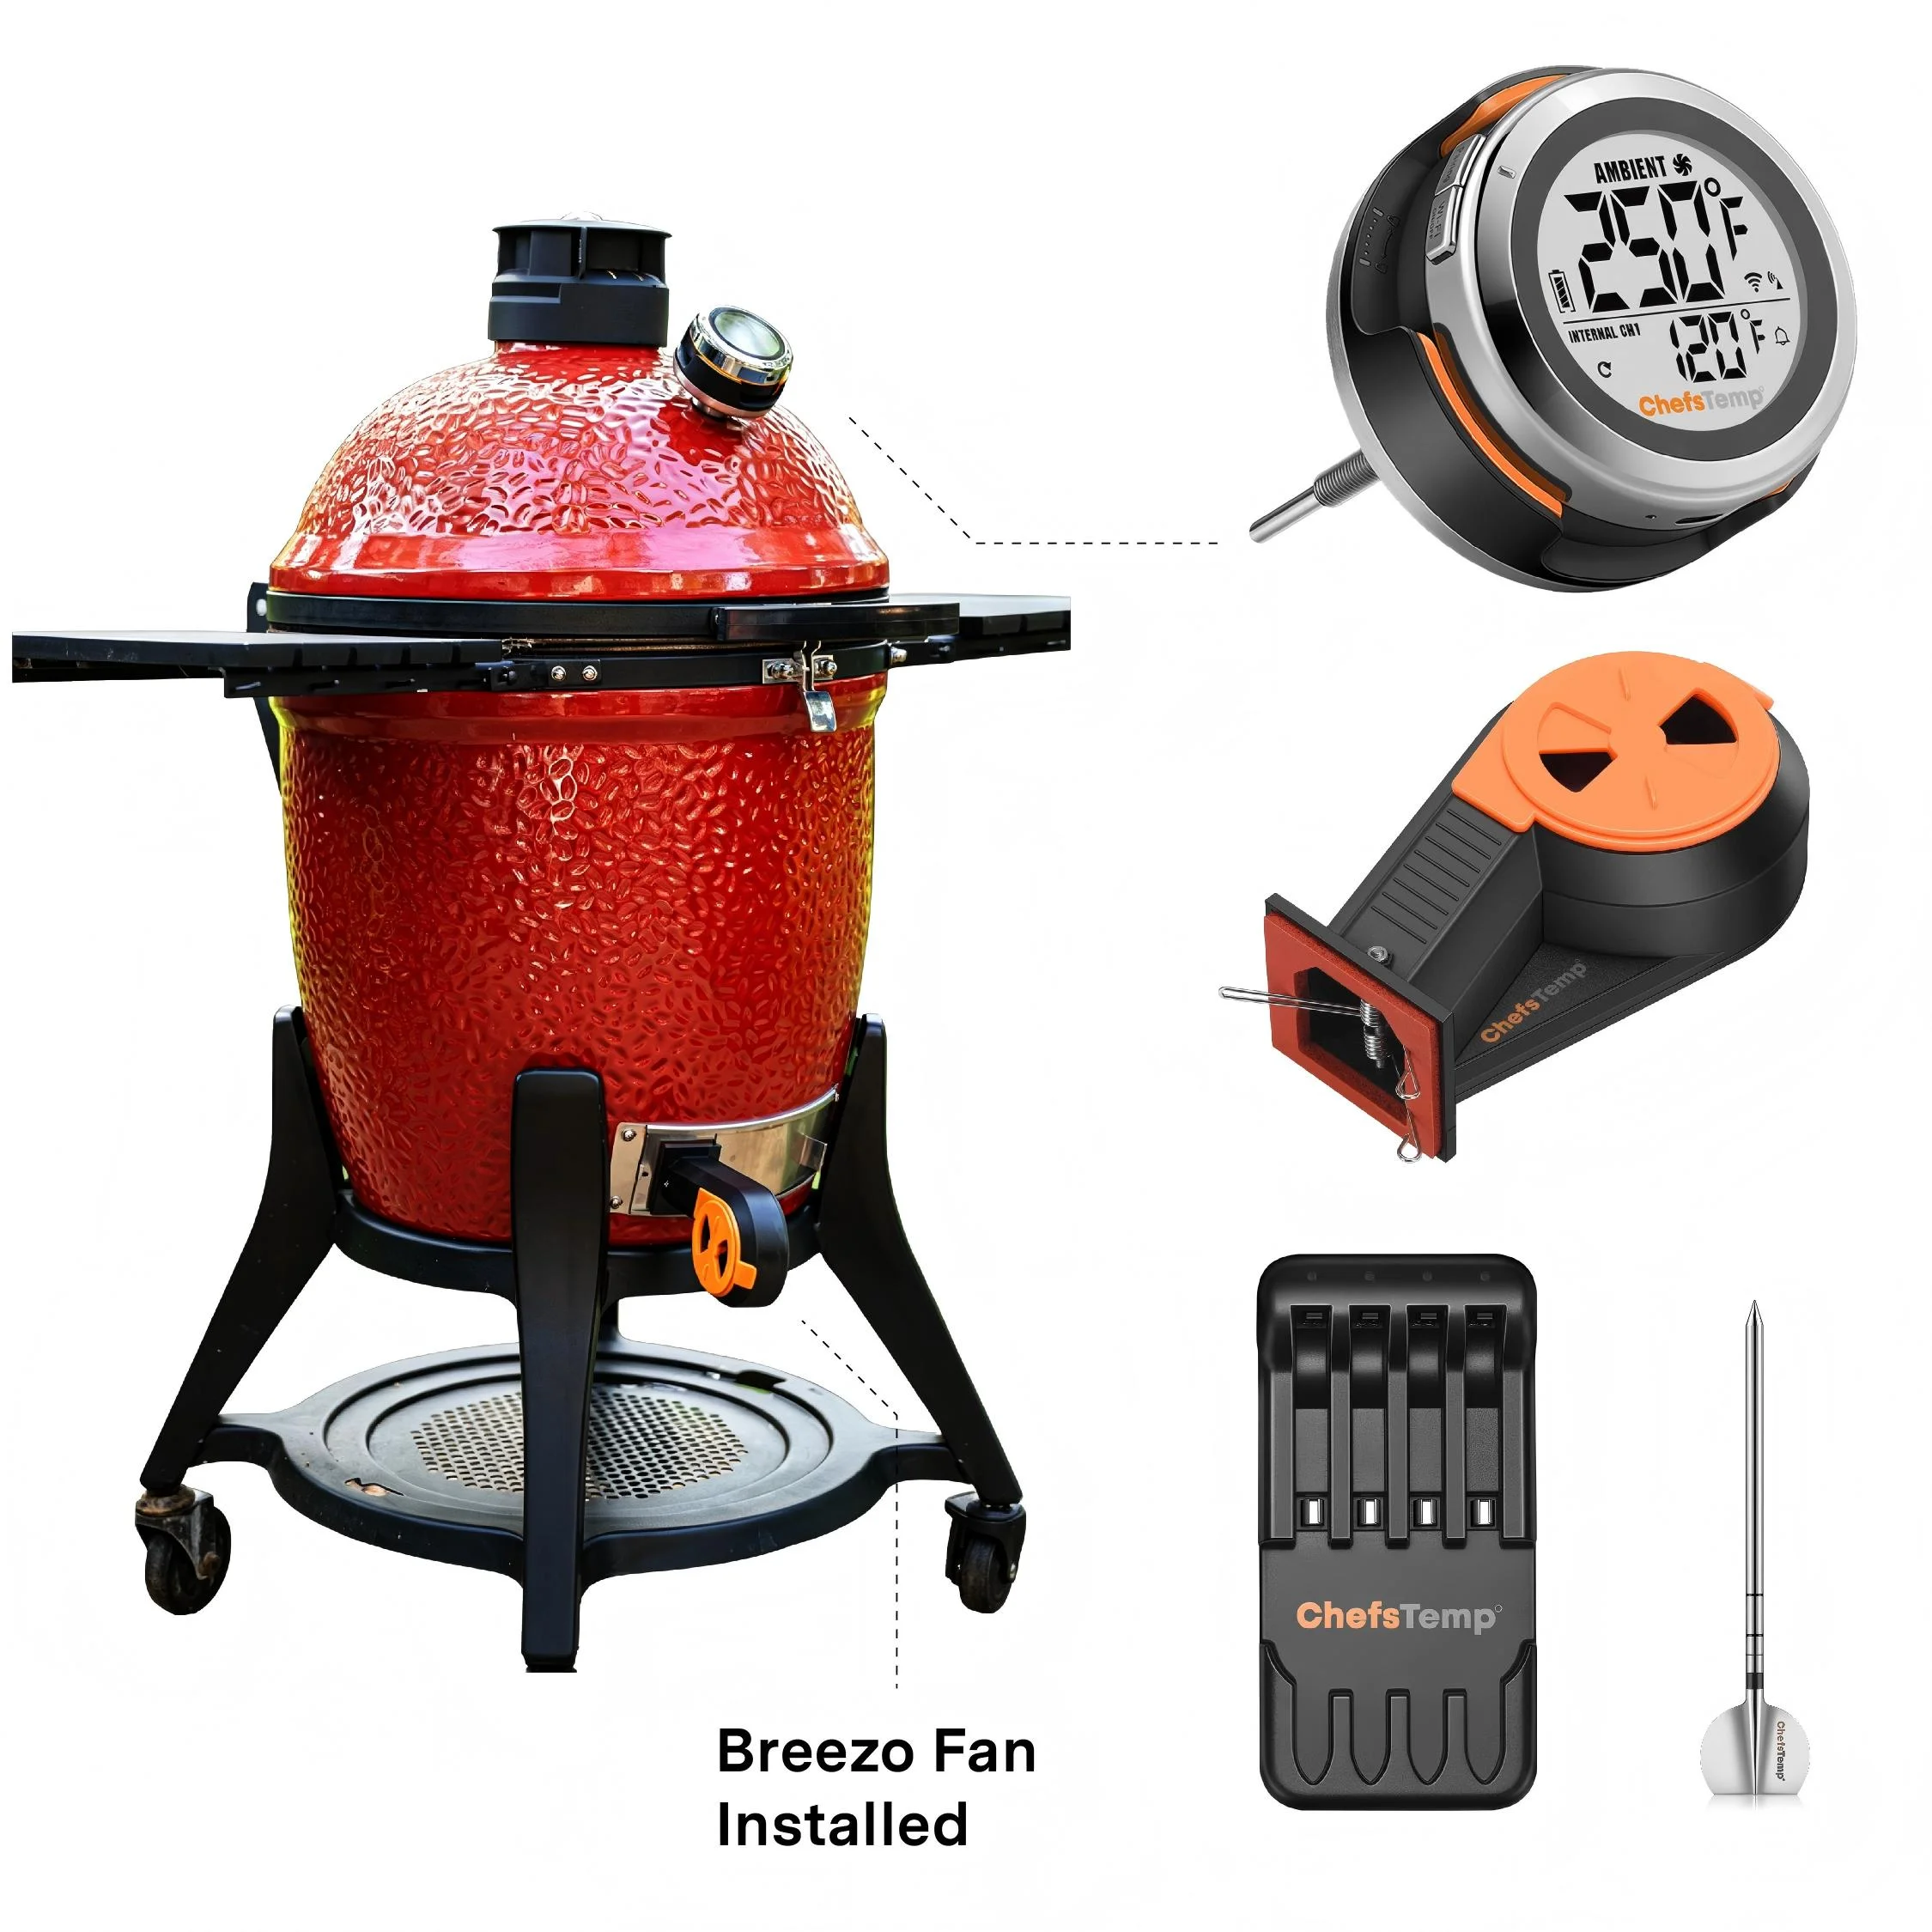
To ensure accurate ambient temperature readings, when inserting the probe into the meat, ensure that it’s inserted past the safety notch on the probe. Make sure the ceramic handle of the probe is at least 1cm away from the meat or grill racks. Placing it too close can cause the meat to absorb heat from around the probe, leading to lower temperature readings. How to Use the ProTemp 2 Plus Probe Correctly for Accurate Readings
The ambient temperature readout on our wireless probe can be influenced by various factors, like the coldness of the meat or moisture levels. Unlike wired probes, the wireless sensor needs time to adjust and provide readings, and different locations can yield different temperatures due to this sensitivity.
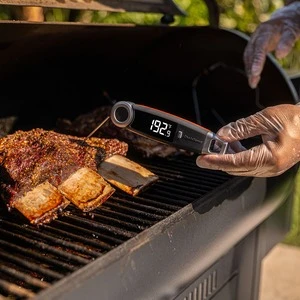
Please be careful not to let the probe directly contact high-temperature objects, such as flames and furnaces. Exceeding the maximum reading range may cause damage to the probe, resulting in further inaccurate readings.
The device is designed to display the ambient temperature only when it exceeds 122°F (50°C). This is because the thermocouple sensor used in our probe requires a temperature difference between the internal meat temperature and the ambient temperature to operate. If the temperature difference is too close, the thermocouple sensor will not work. Therefore, the device only displays ambient temperatures above 50°C (122°F) due to this technical requirement.
- Explain why your device might only show 5GHz, and finish with a complete pairing guide for your ProTemp S1 or ProTemp 2 Plus.
- Separating your router’s 2.4GHz and 5GHz bands by turning off Smart Connect or Band Steering.
- Setting up a guest network specifically for IoT devices like your ChefsTemp thermometer.
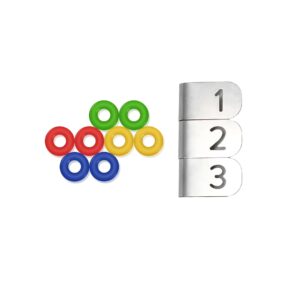
1. Inspect the Buttons: Check whether any buttons are stuck or unresponsive. Gently press both sides to compare the tactile feedback—if one side feels different or doesn’t respond properly, the button may be damaged.
2. Power and Restart: If the buttons appear to be functioning normally, connect the stand to a charger and allow it to charge briefly. Then, try restarting the device.
3. Left Button Functionality: Please note that the left button supports different functions based on press duration: Press and hold for 2–3 seconds to turn the device on; Press and hold for 4–5 seconds to turn it off.
- Check App Permissions: Make sure the ChefsTemp app has all required permissions—especially location access—enabled on your device. For iOS, please enable “Allow connecting to your nearby devices” in your settings.
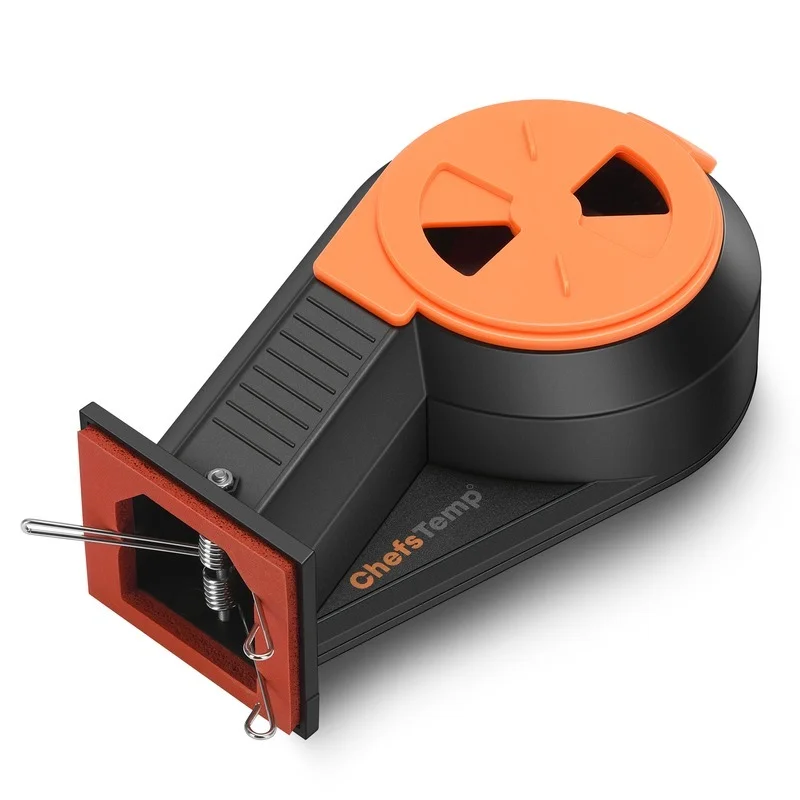
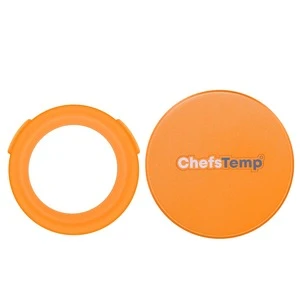
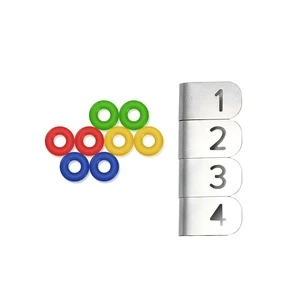
- Fully Charge the Probe: Low battery or no power will prevent probe’s Bluetooth detection. Clean the probe to remove any debris and adjust the metal plate in the Stand’s charging slot to ensure contact with the probe properly.
- Check Probe Pairings: A probe can only be connected to one device at a time (including ProTemp S1 and ProTemp Plus Series). Ensure the probe is not already paired with another thermometer.
- Delete and Reconnection: After making sure the above settings are correct, delete all your current connections on the app, exit and reopen the app, shut off the Stand to restart it, and reconnect by following our tutorial video: How to Fix Bluetooth & Wi-Fi Pairing Issues on ProTemp Plus or ProTemp 2 Plus.
- Test with LightBlue App: If it is still not working, please fully charge the Probe and Stand, remove the Probe from the charging slot, and download the LightBlue app to test whether the “Probe” and “ProTemp Stand” are broadcasting Bluetooth signals. Each charged probe should display as a separate entry.