Tech Support Questions
If you encounter any product issues or have technical questions not covered here, you can start a chat using the message icon in the lower‑left corner for faster assistance. You’re also welcome to contact our Customer Support Team at info@chefstemp.com.
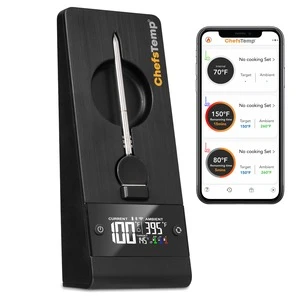
- The probe is securely connected to the S1: Add a Wireless Probe to ProTemp S1.
- The probe is fully charged.
- The probe channel displayed on the S1 matches the channel where the probe is connected.
Please watch our tutorial video to ensure you’re following the correct Wi-Fi setup process: How to Pair Your ProTemp S1 with Bluetooth and Wi-Fi | Step-by-Step.
- App Permissions: Make sure the ChefsTemp app has all required permissions—especially location access—enabled on your device. For iOS, please enable “Allow connecting to your nearby devices” in your settings.
- Bluetooth and Wi-Fi Settings: Turn on Bluetooth on your device and ensure the connected Wi-Fi on your phone is on a 2.4GHz network. If your router is an automatic dual-band (or only has the 5GHz Wi‑Fi), simply separate the 2.4GHz and 5GHz bands (or create a guest 2.4GHz Wi‑Fi network) in the router app.
- Password and SSID: Use the orange magnifying glass to auto-detect the SSID, and double-check that the Wi-Fi password is entered correctly, as spell-check may alter it.
- Router Settings: Disable fast roaming (e.g., 802.11r) on your router, as it may prevent the thermometer from connecting.
- Reconnection: After making sure the above settings are correct, delete all your current connections on the app, exit and reopen the app, shut off the Base to restart it, and connect the thermometer from the beginning.
- Use the original charger to power the fan.
- Turn on and run the fan.
- Open the app and go to the firmware update section. If an update is available, proceed with the upgrade.
- After the update completes, fully close the app and reopen it.
- Return to the firmware page to confirm the update was successful.
- Try resetting the S1 unit.
- Disconnect and reconnect the S1 unit.
Please confirm that the firmware of your S1 and Breezo Fan has been upgraded to the latest version. Ensure that the app is also the latest version. After completing the firmware update, it is recommended to delete all devices and reconnect to check for any issues. How to Update Firmware on ProTemp S1 & Breezo Fan | Step-by-Step Guide
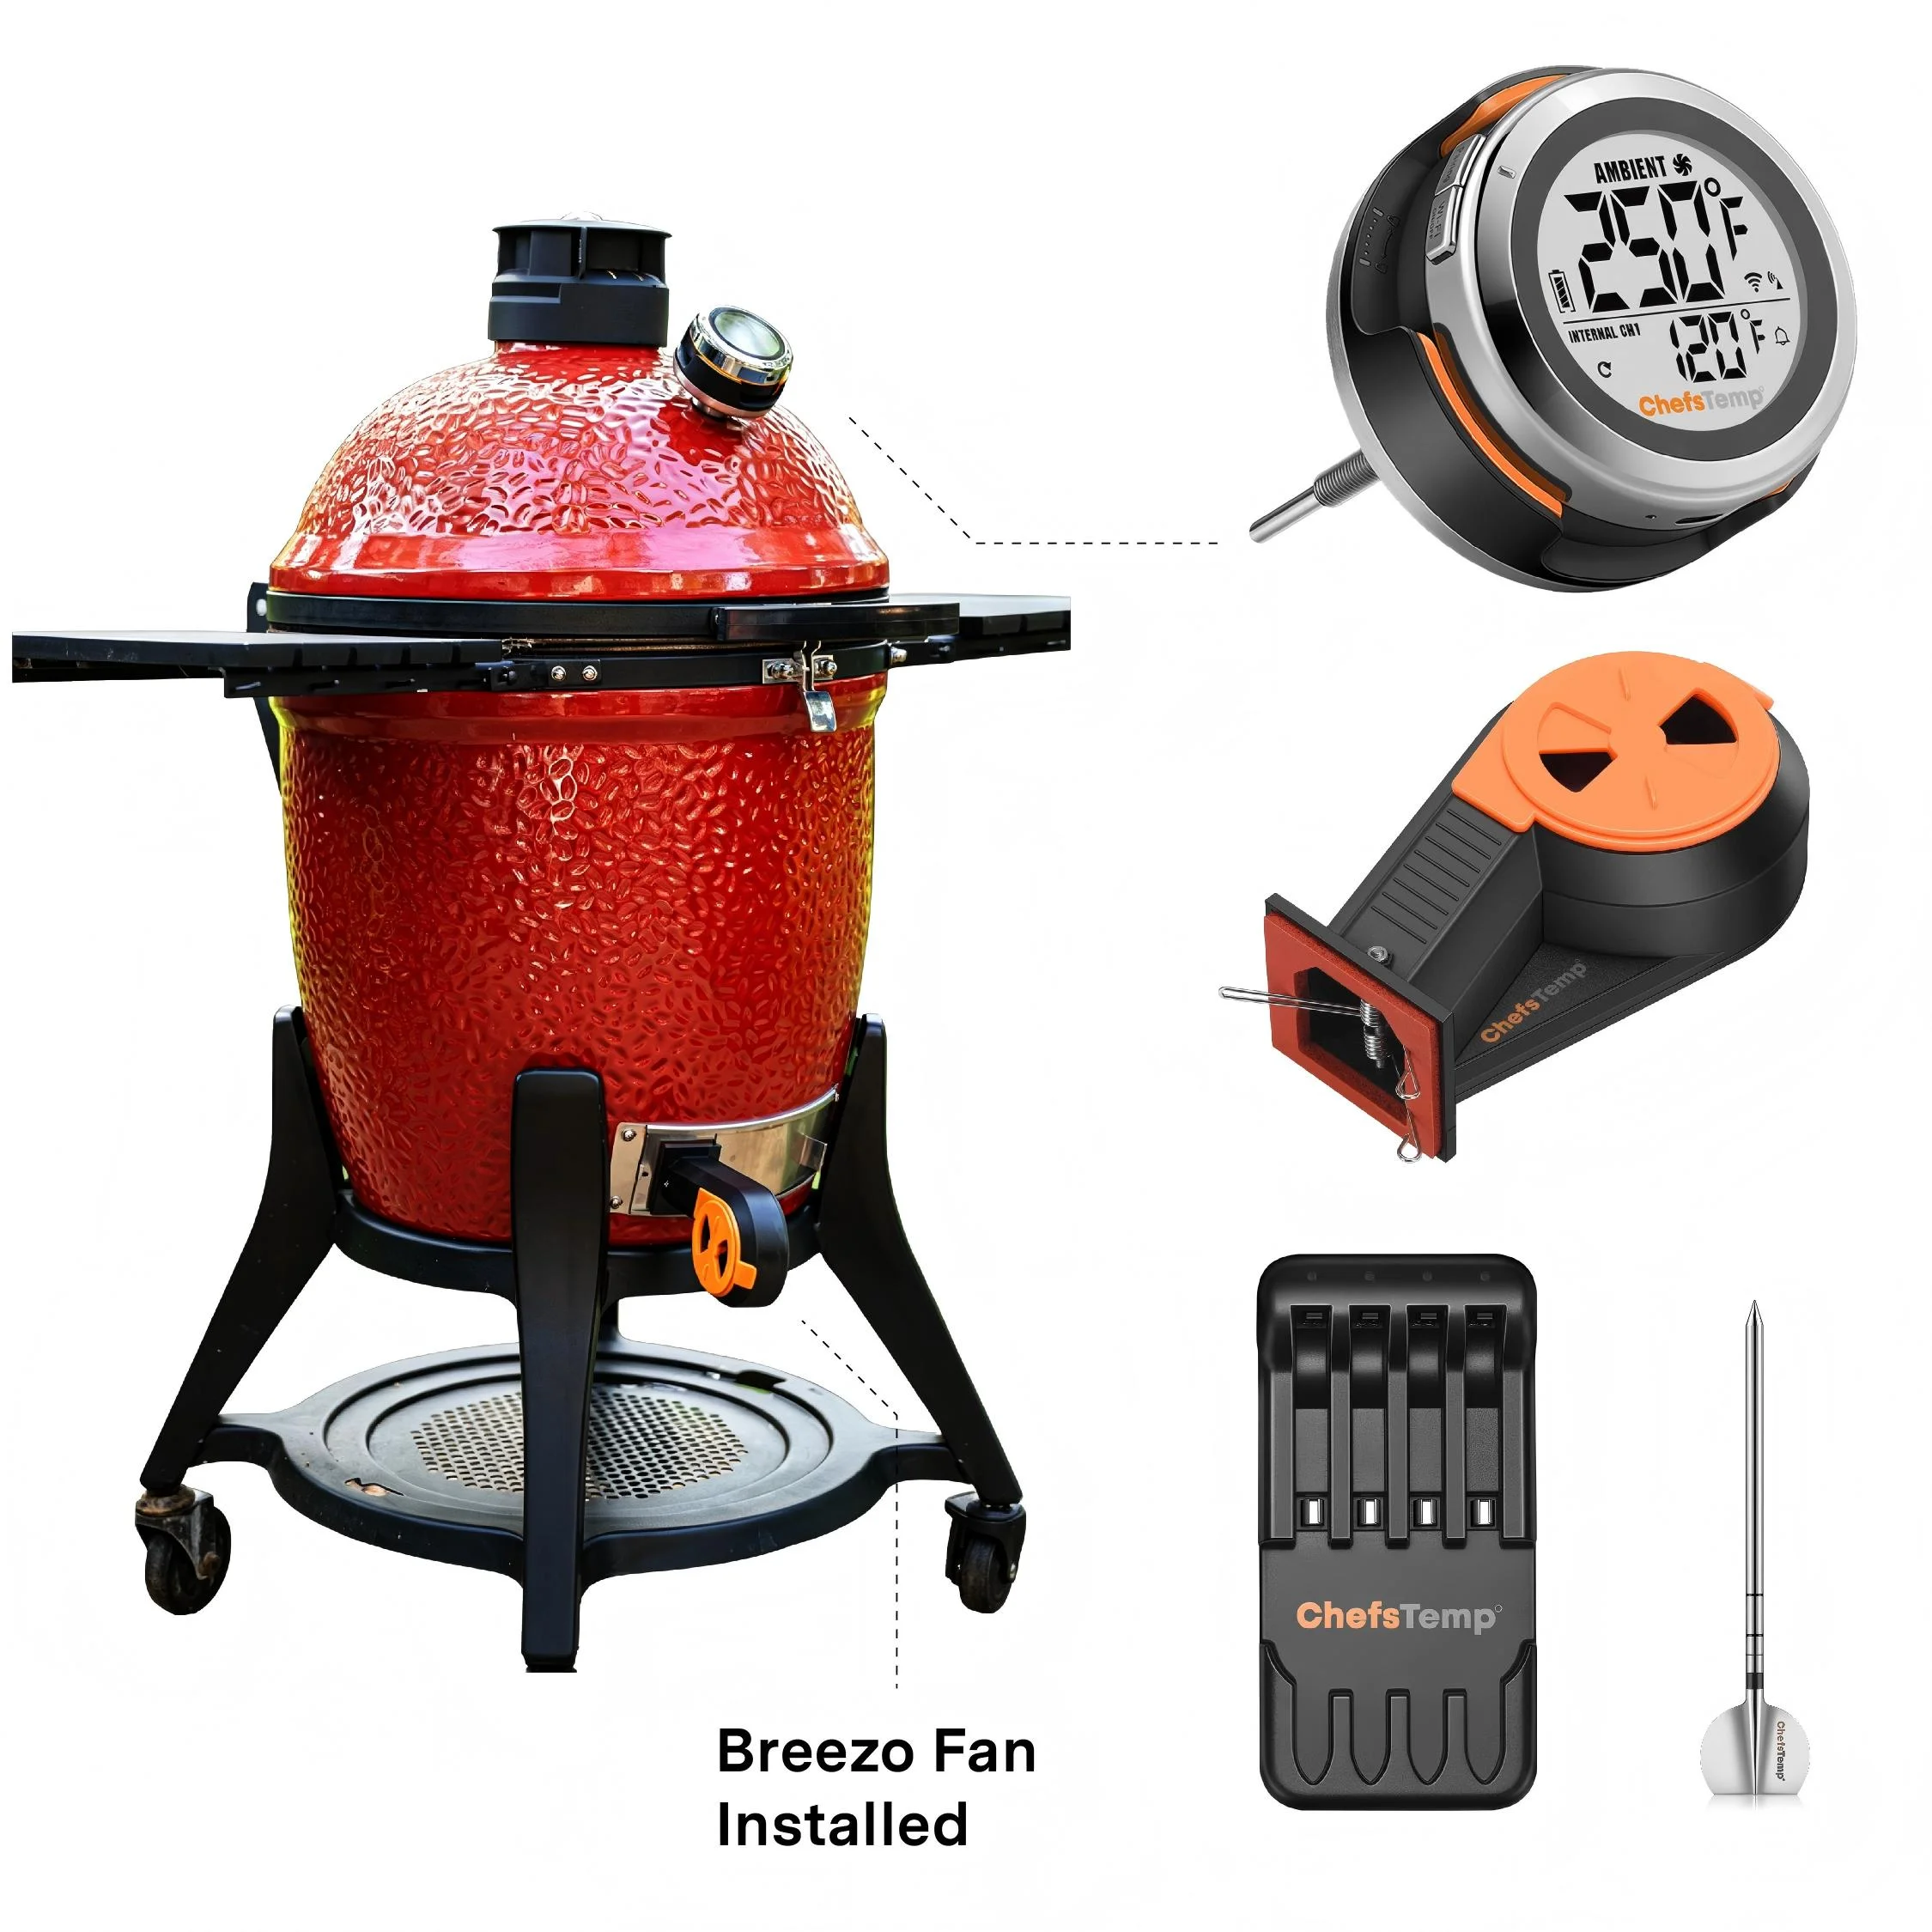
❤️For best results, we recommend keeping the top vent nearly closed and allowing the Breezo fan to add the necessary air to maintain your desired temperature. Opening the top vent too much can lead to overshooting your target temperature, especially at lower temperatures used for smoking. For higher-temperature grilling, such as searing, you may open the vent slightly more to accommodate the increased airflow needs. These settings work well across various grill sizes.
Please see our video instructions on:
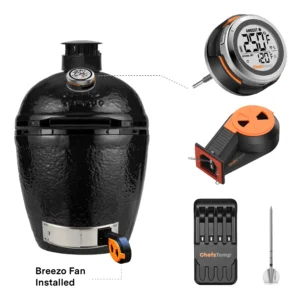
1. How to Master Temperature Control on Big Green Egg or Kamado Joe with ProTemp S1 & Breezo
2. Adjusting Exhaust Vent & Damper for Perfect Grill Temps | ProTemp S1 & Breezo
- Confirm that your Breezo and S1 are connected correctly. You can watch this video: How to Wirelessly Connect the Breezo Fan to ProTemp S1?
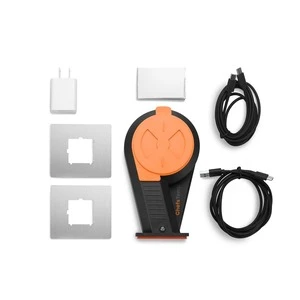
- Make sure you have used the original power adapter and cable (if using a power bank, please connect it with a C-to-C charging cable, and do not use fast charging or any charging plug exceeding 20W).
- Make sure your S1 displays temperature numbers properly.
- Check if your S1 and Breezo firmware versions have been updated to the latest version. The app is also the latest version. How to Update Firmware on ProTemp S1 & Breezo Fan | Step-by-Step Guide.
- Connect the Breezo to the charging cable to power it on, and press and hold the button on the Breezo for 4 seconds until the Breezo rotates slightly. It indicates that the Breezo has been reset and paired with S1.
- Press the button on Breezo twice to stop the Breezo, and then use the fan switch on the App to control the Breezo.
- If you have any questions or concerns, please feel free to call us at +1 (559) 563-8838, Monday to Friday, 8:00 AM–5:00 PM (PST/PDT).
- You can also reach our Customer Support Team at info@chefstemp.com—an agent will respond within 24 hours. Please note that replies may take slightly longer on weekends or holidays.
If the fan button does not respond, please confirm you are using the included power adapter and cable. For power banks, please use Type-C to Type-C, and avoid fast-charging adapters or those exceeding 20W. If it still fails, please shoot a short video of the issue and reach our support team, info@chefstemp.com.
- Clean the remaining grease on the probe before charging.
- Adjust the metal plate in the Stand’s charging slot to ensure proper contact with the probe: Fix Your Plus Charging Stand: Solve Loose Contact Issues Fast!
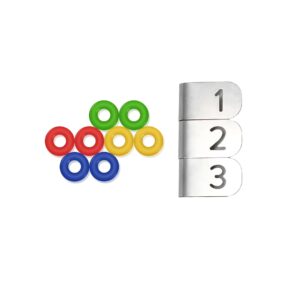
- Restart the stand, then place the probe in another slot to charge it. (Both the front and back slots can be used to charge the probe.)
- Download the LightBlue app and check if “Probe” appears in the device list. Each charged probe should display as a separate entry.
- Record a short video showing the probe charging and send it to info@chefstemp.com. We’ll review it promptly and resolve the issue.
- Charging Indicator: A blue light will appear at the corresponding charger slot when the probe is charging. The light will turn off once the probe is fully charged, indicating it’s ready for at least 30 hours of use.
- Probe Orientation: Ensure the probe is inserted correctly, with its tail making full contact with the metal plate in the charger’s slot. Place the probe in another slot to charge it.
- Download the LightBlue app and check if “Probe” appears in the device list. Each charged probe should display as a separate entry.
- Record a short video showing the probe charging and send it to info@chefstemp.com. We’ll review it promptly and resolve the issue.
- Check App Permissions: Make sure the ChefsTemp app has all required permissions—especially location access—enabled on your device. For iOS, please enable “Allow connecting to your nearby devices” in your settings.
- Delete and Reconnection: After making sure the above settings are correct, delete all your current connections on the app, exit and reopen the app, press the RESET button next to the charging port to restart, and reconnect by following our tutorial video: How to Pair Your ProTemp S1 with Bluetooth and Wi-Fi | Step-by-Step
- Test with LightBlue App: If the issue persists, download the LightBlue app and check for “ProTemp S1 Base” in the device list.